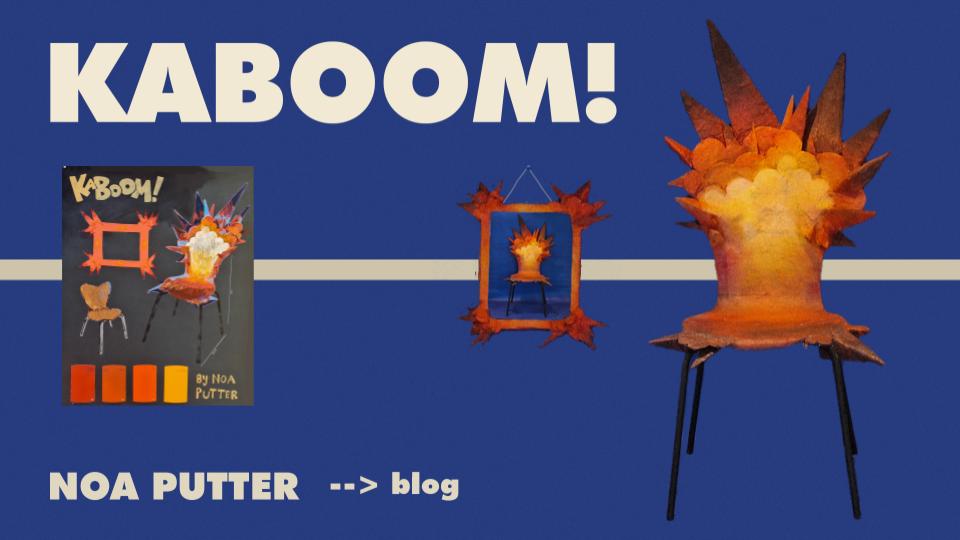
For this project, our summative, we were tasked with designing and creating a chair & an accessory to go with it.
Planning
First, I started the project by having to make three different drawings, one of chairs I owned/had in my house, the second being chairs I wanted, and the third was my chair designs.


My next task was to make a maquette for one of the four designs I liked the best. I continued with my idea of an exploding chair (as seen in the middle of the #3 design). To make the maquette, I used cardboard, popsicle sticks, & acrylic paint:
An issue that became apparent right away was that my maquette relied too heavily on my original chair, so I kept this in mind while creating my design.
Creation
It was during the creation process that I found myself stuck. I now had a solid idea of what I wanted to do, but I was too scared to start. Because of my reluctance to take the risk of putting together a chair, I ended up spending most of my allotted class time cutting out cardboard pieces again and again, in an attempt to avoid what I knew I had to do all along. However, I eventually found myself putting together my final piece:


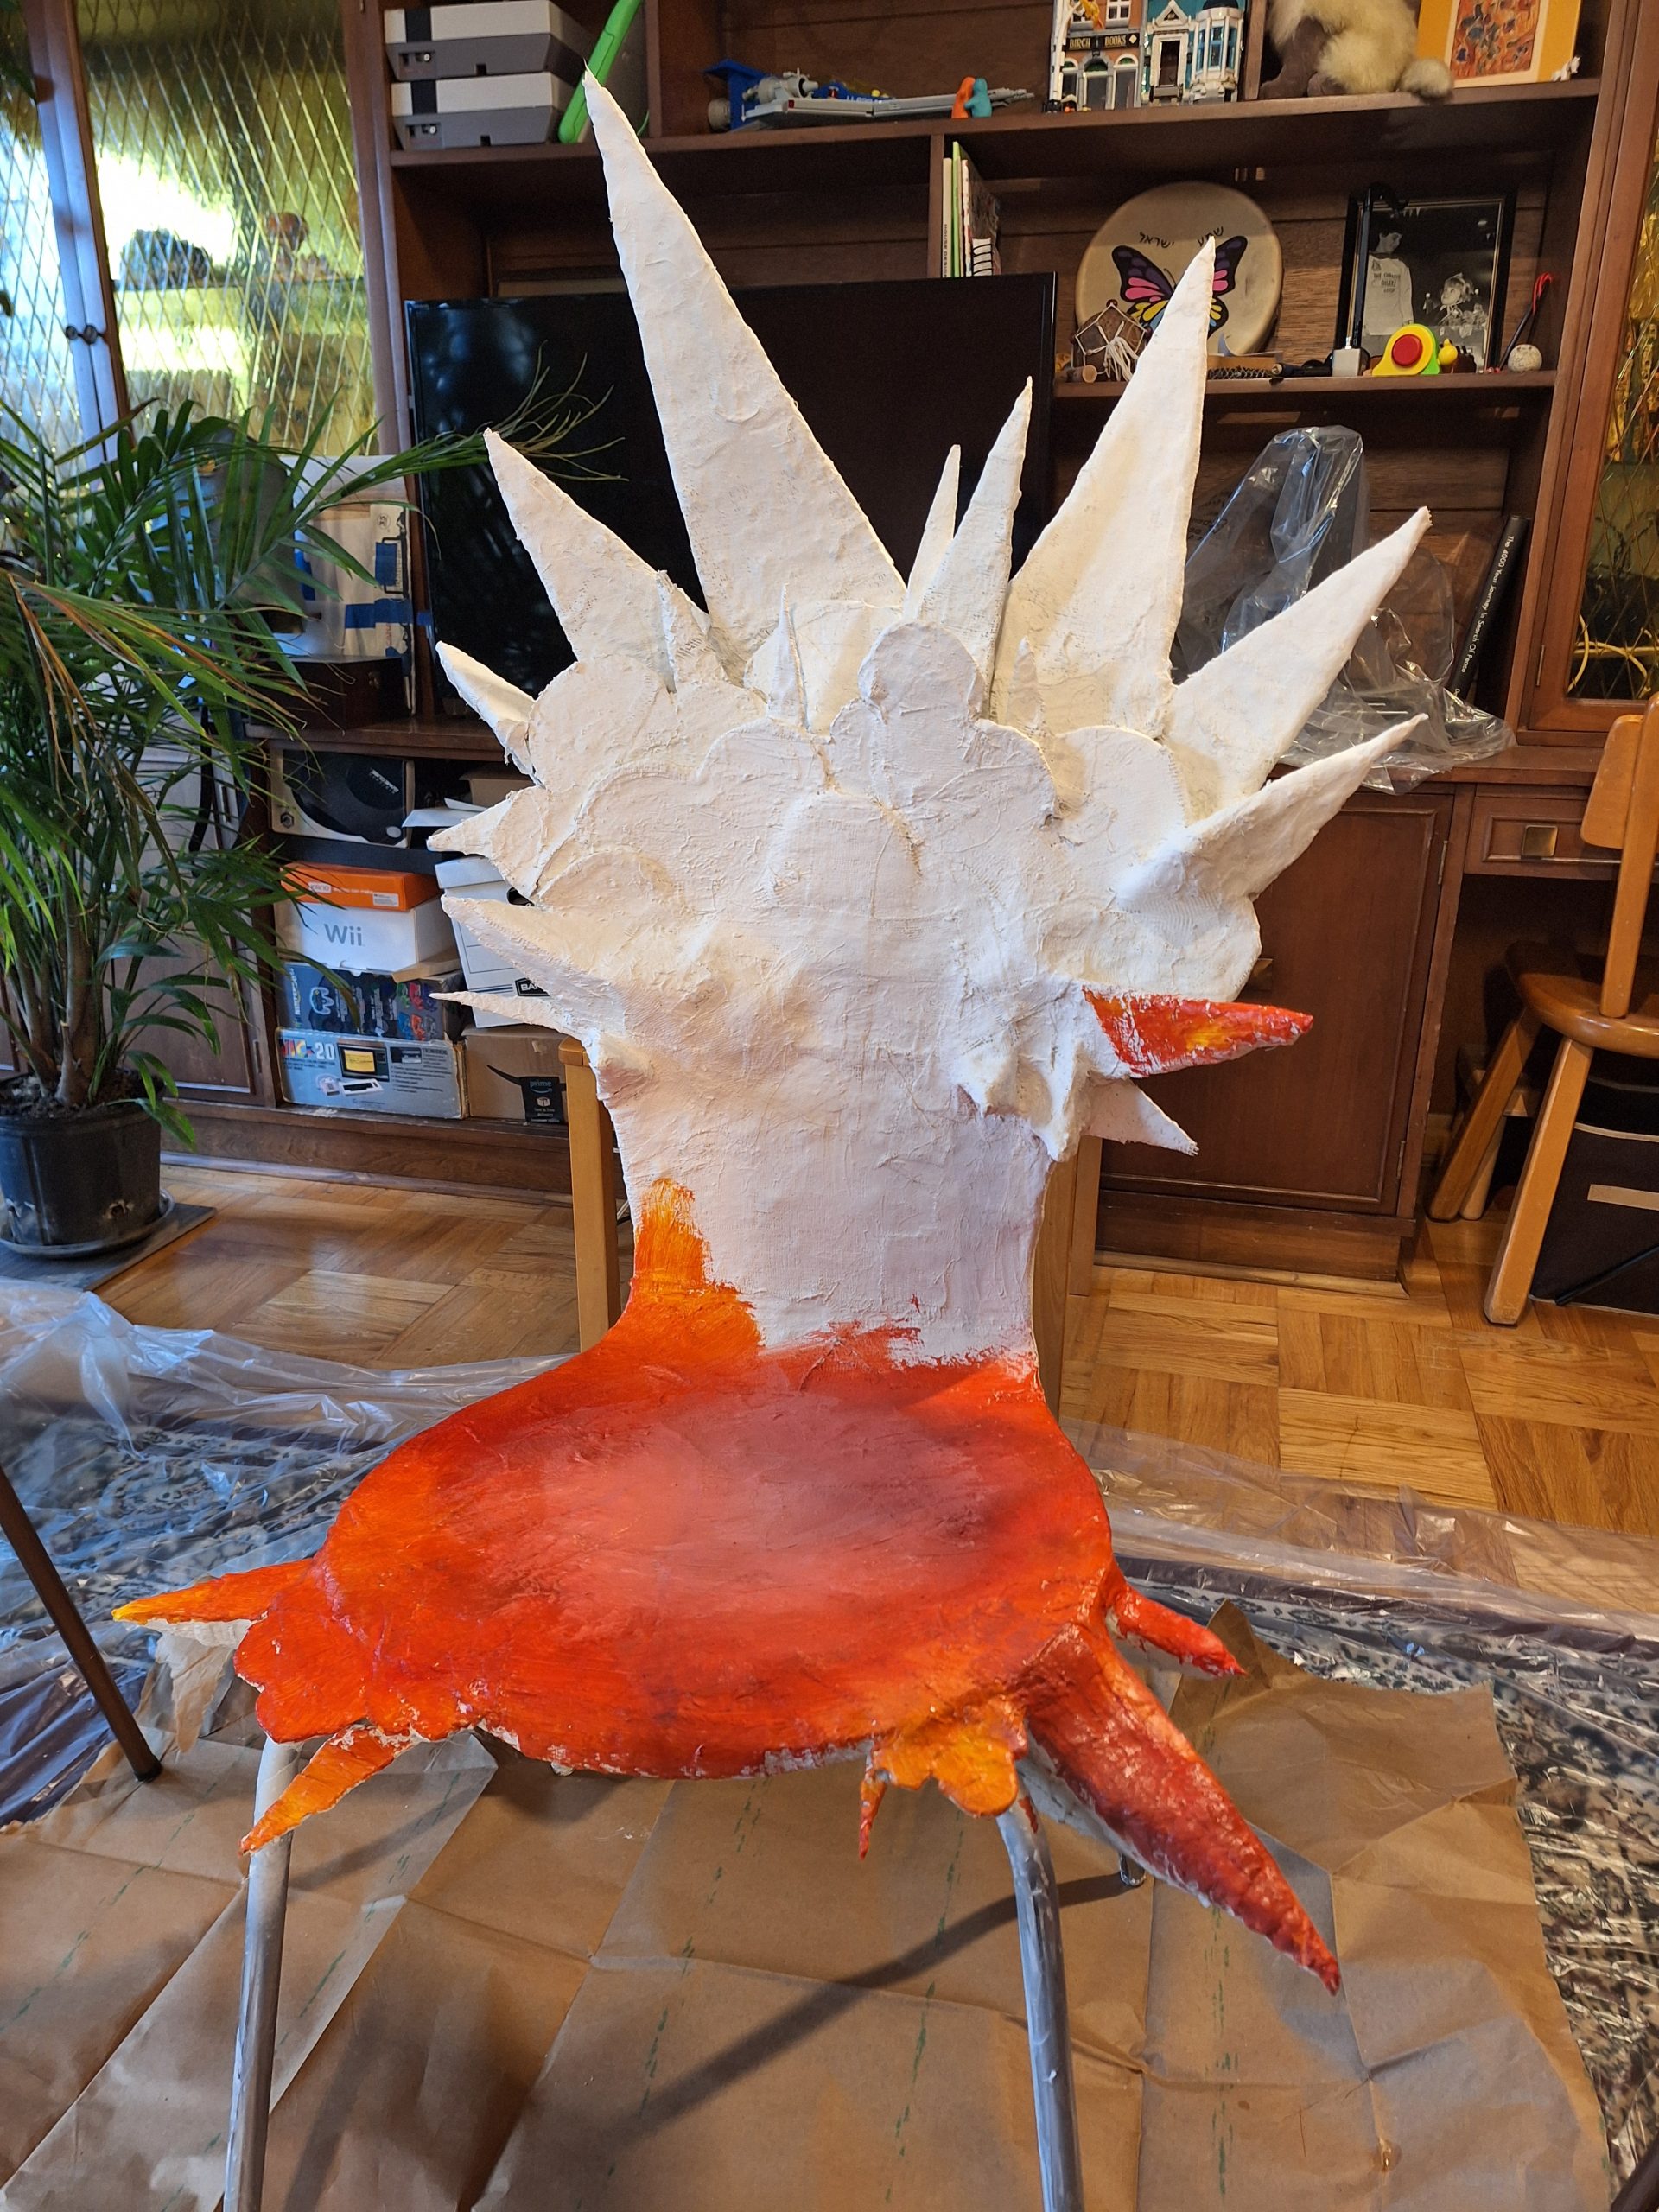
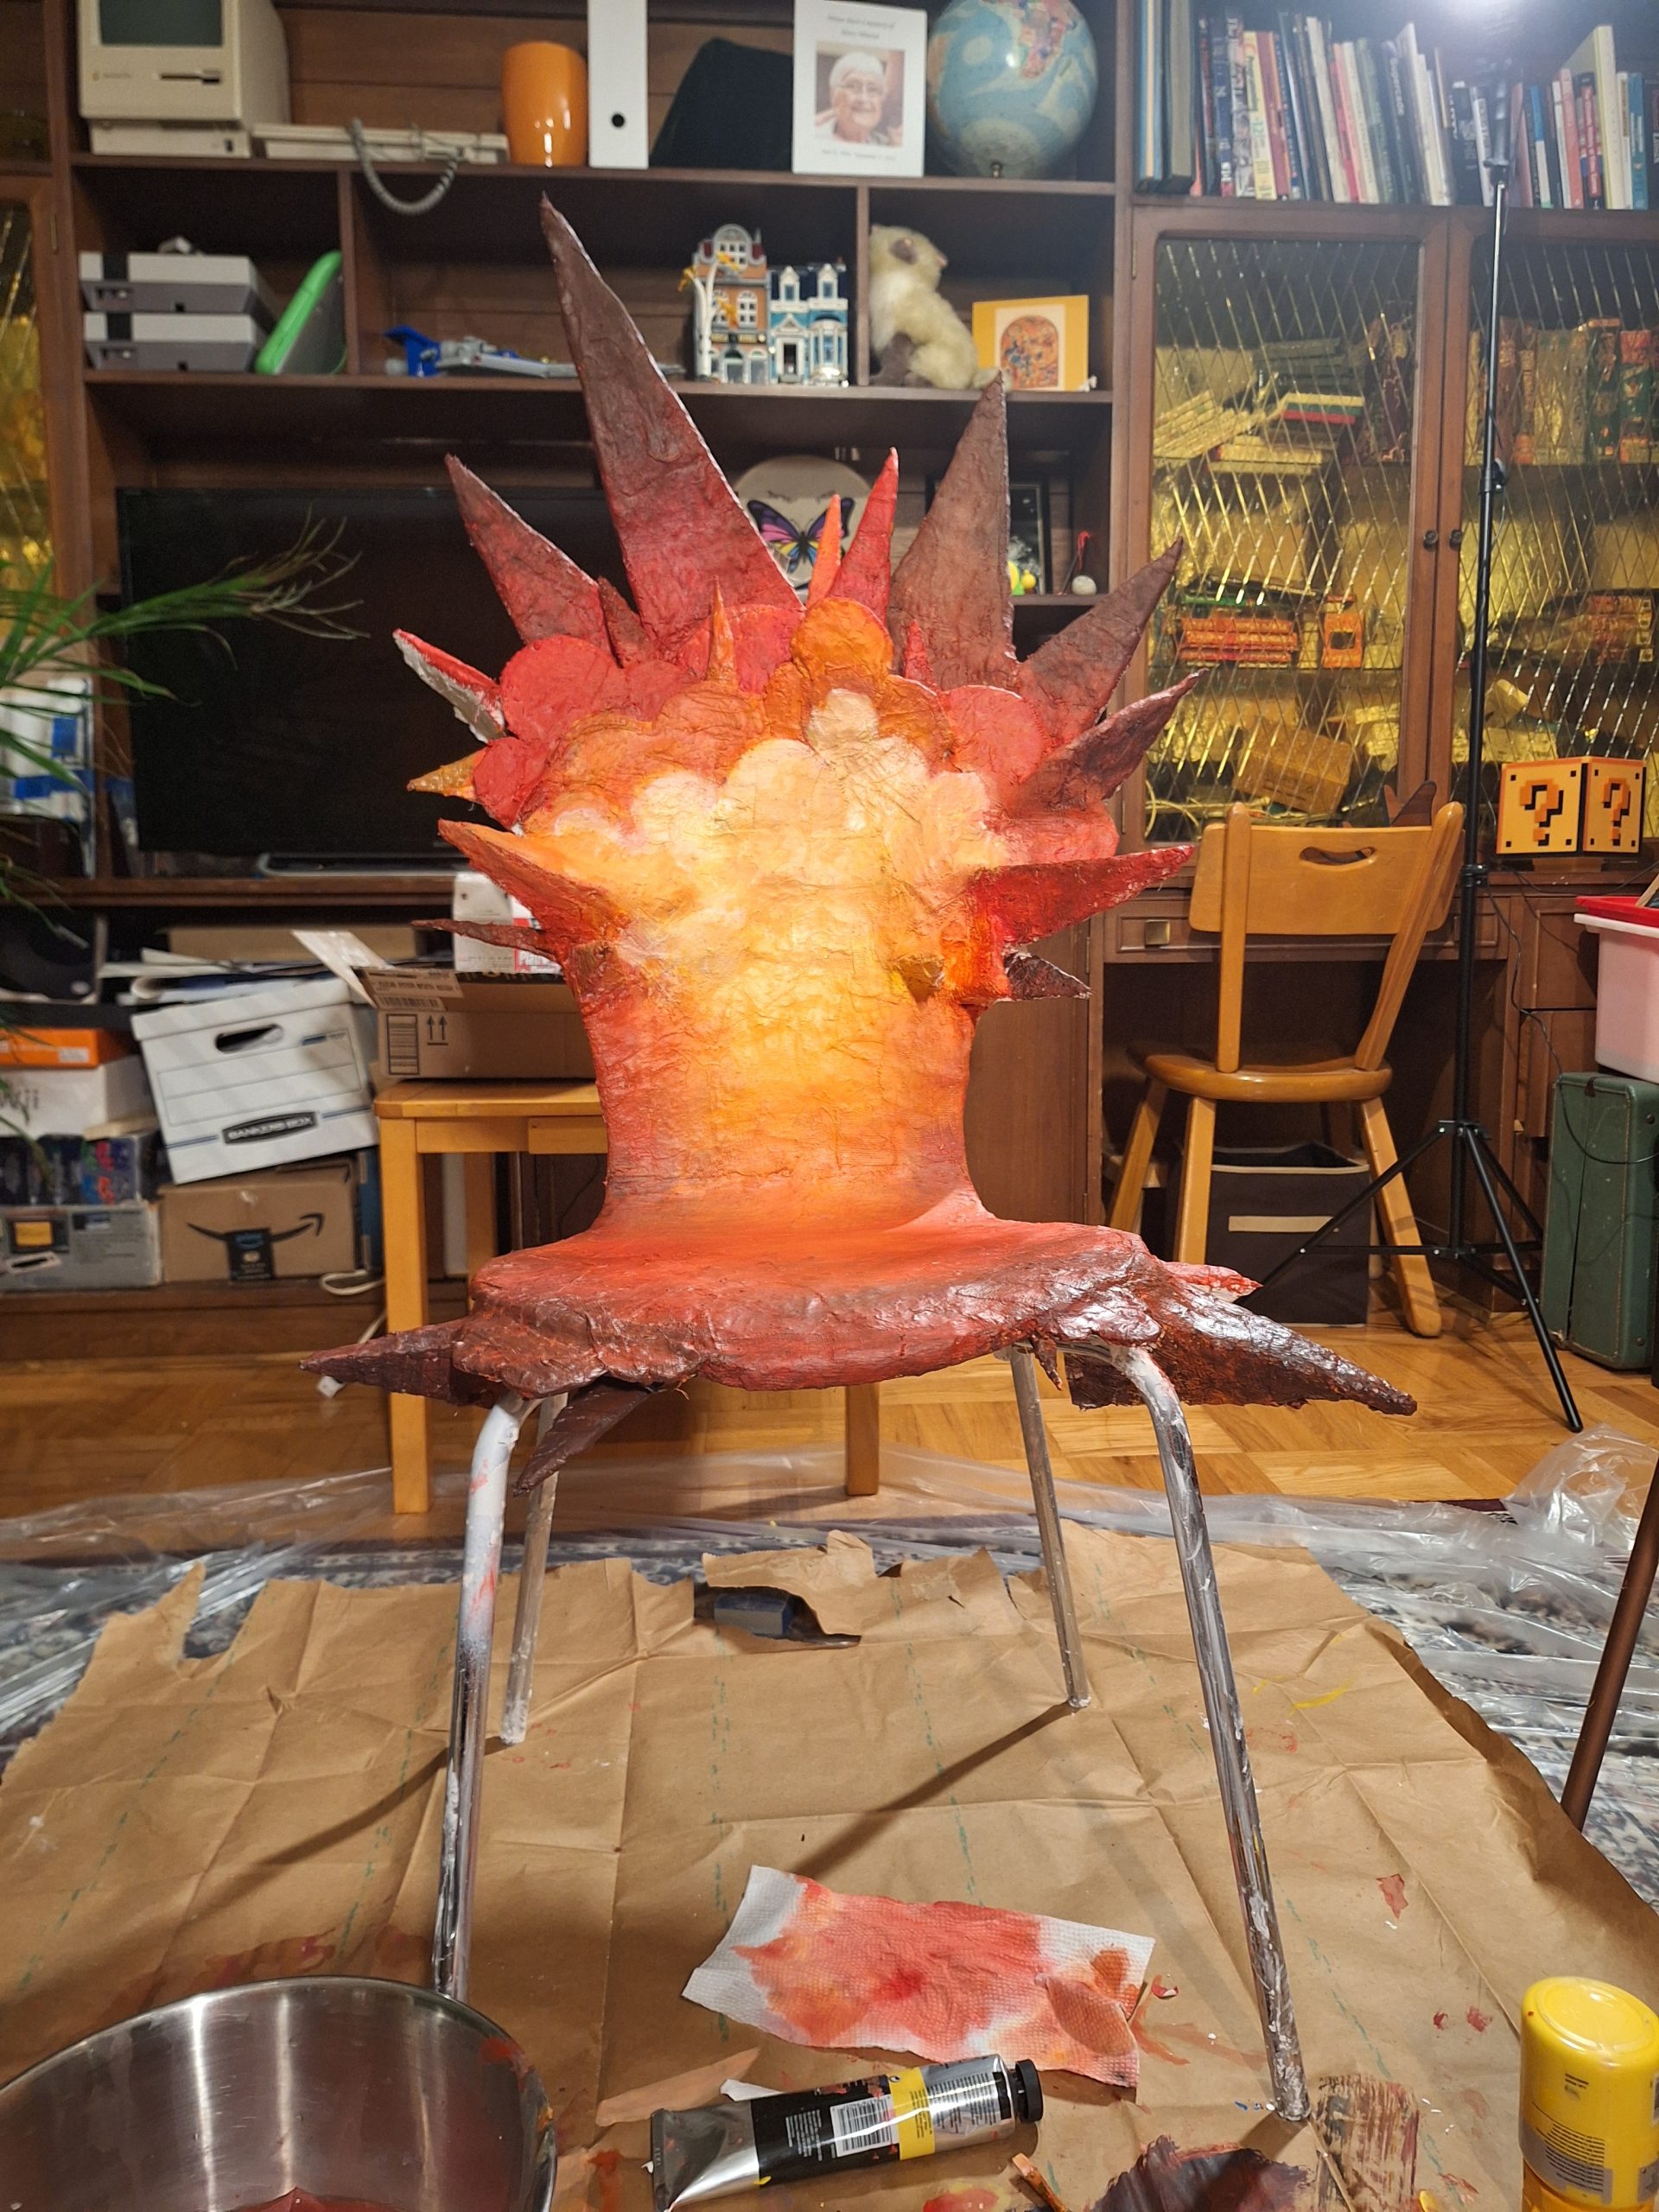
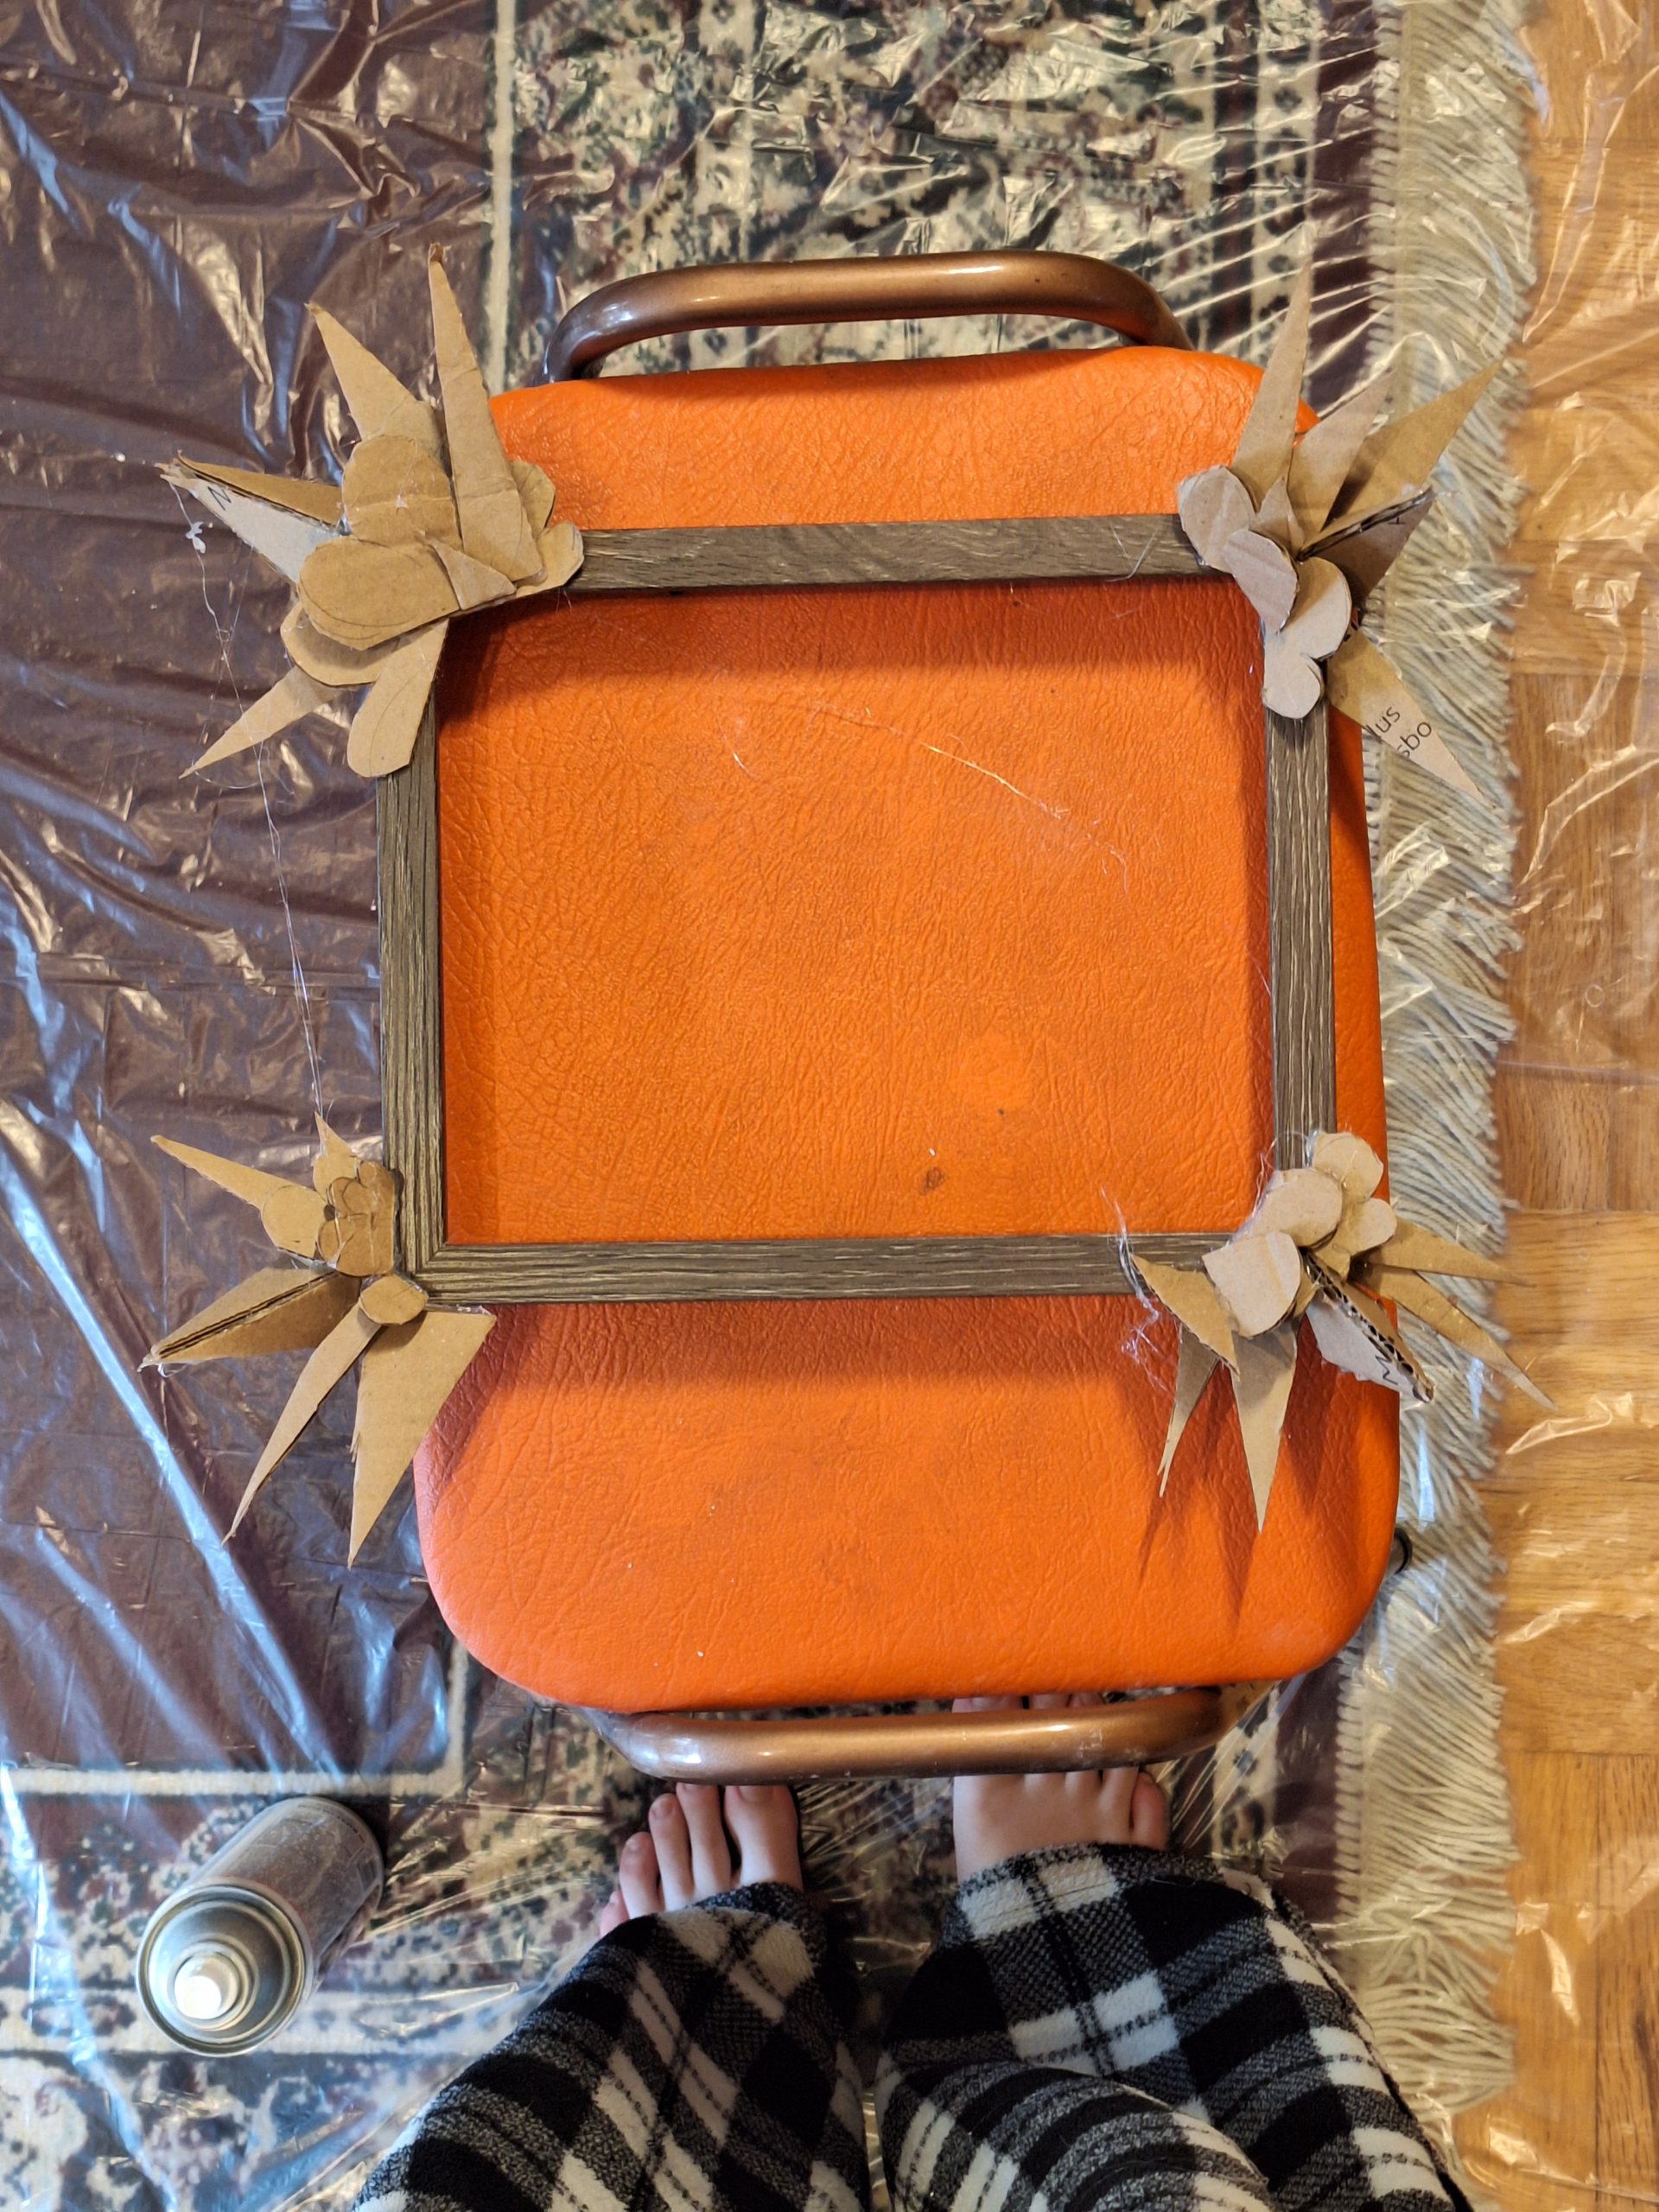
First, I cut out cardboard shapes and glued them onto my original chair so I had a basic shape.
Then, I covered my chair in Plaster of Paris. During this process I discovered how hard Plaster of Paris is to work with as it took me a whole day to apply, it looked very rough, and it ended up partially cracking off by the morning.


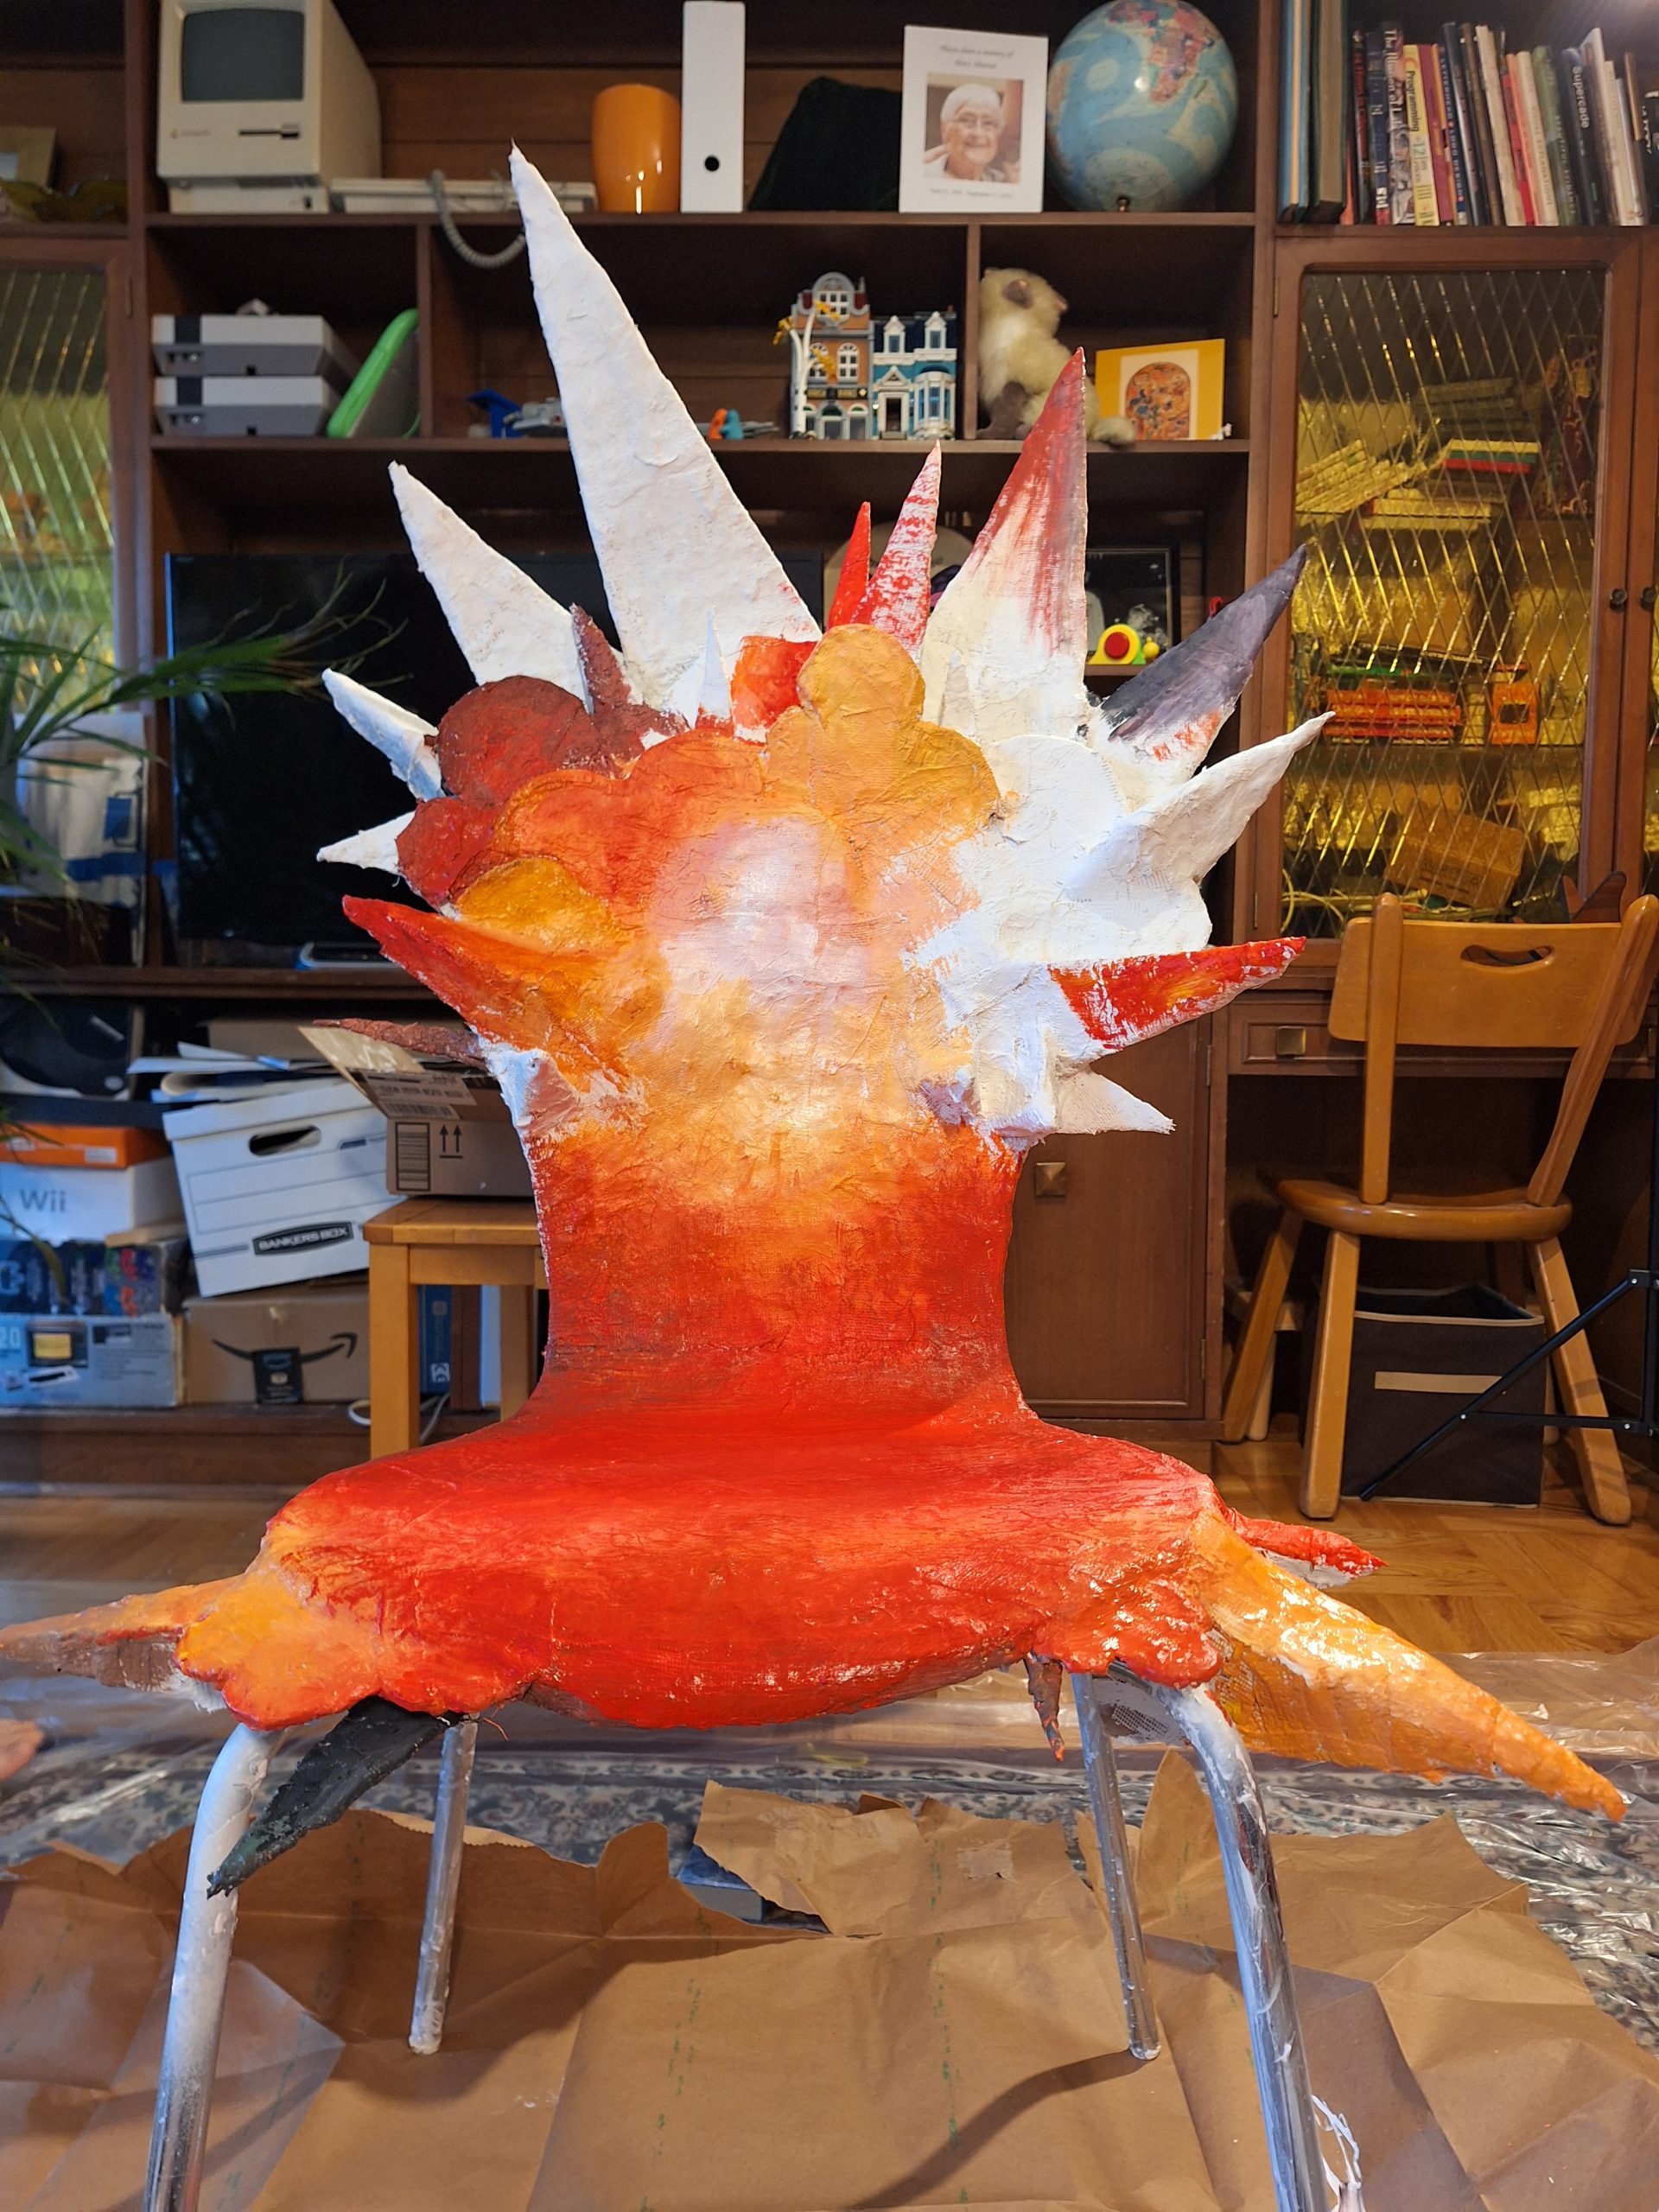
As I concluded that this medium was not the best for this project, I ended up buying plaster strips instead, and it worked out wonderfully. My one issue was that I was unable to sand it until it was smooth because of the material change, but I found myself embracing the textured version.
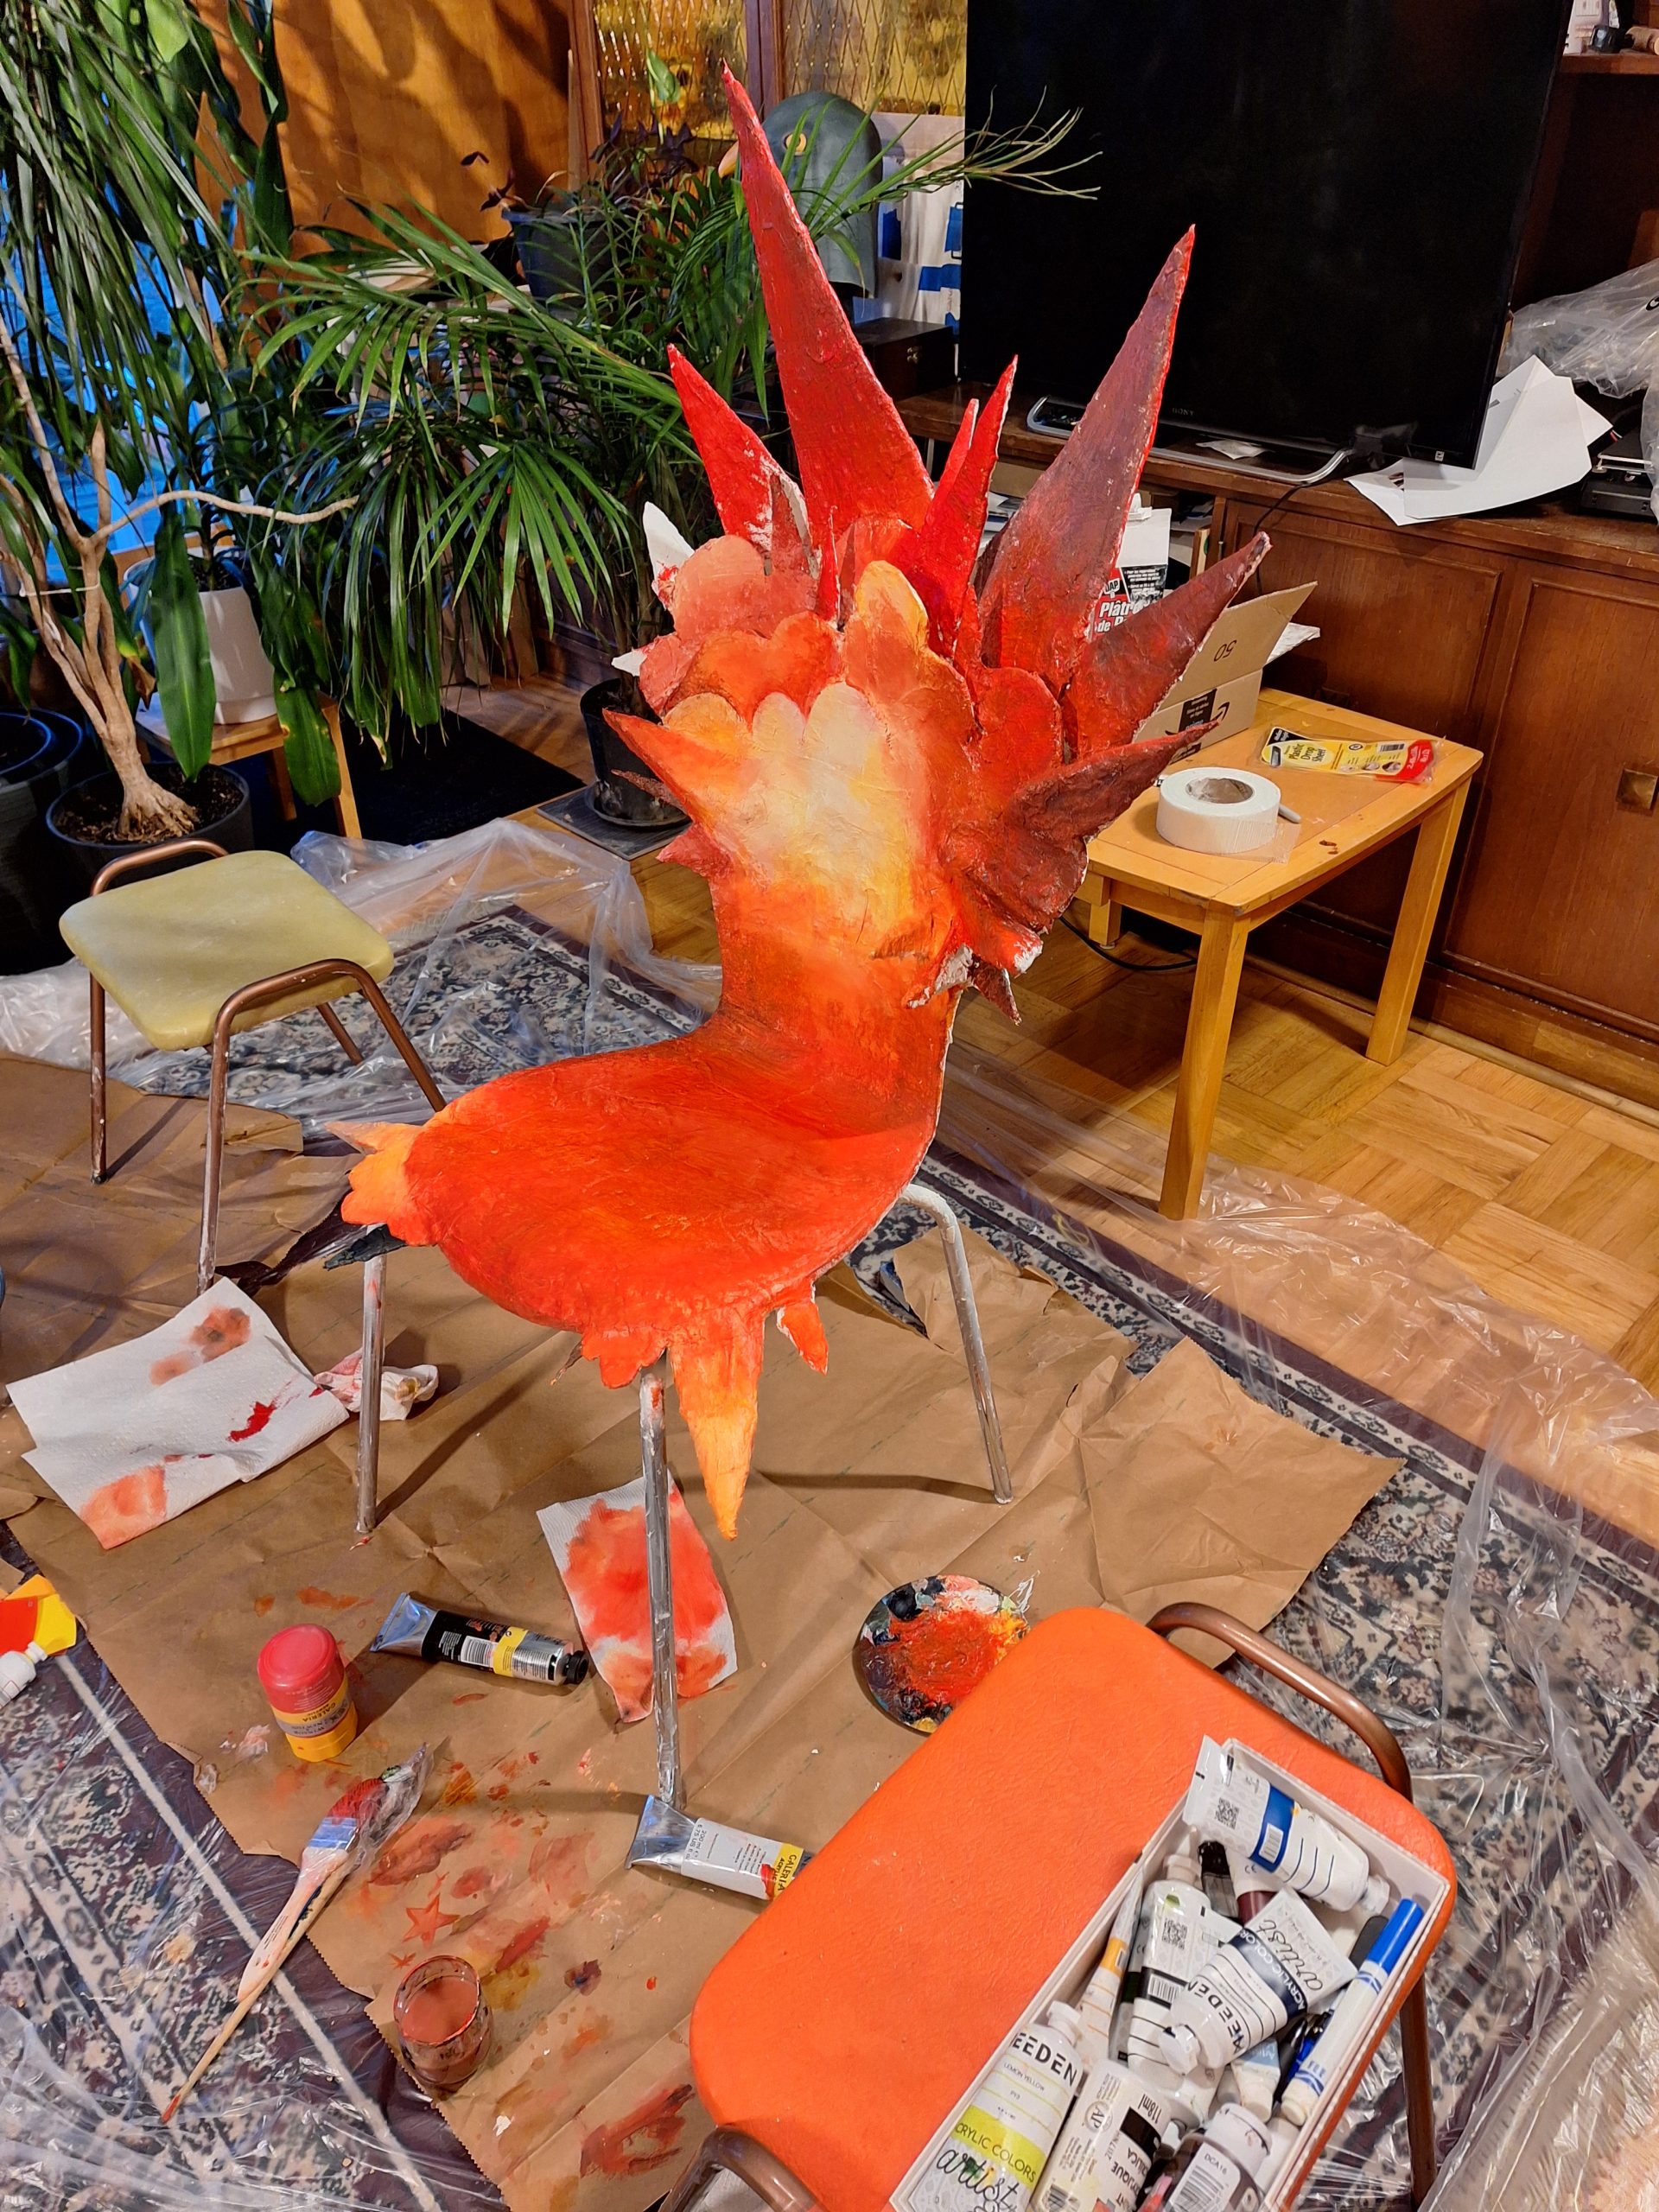
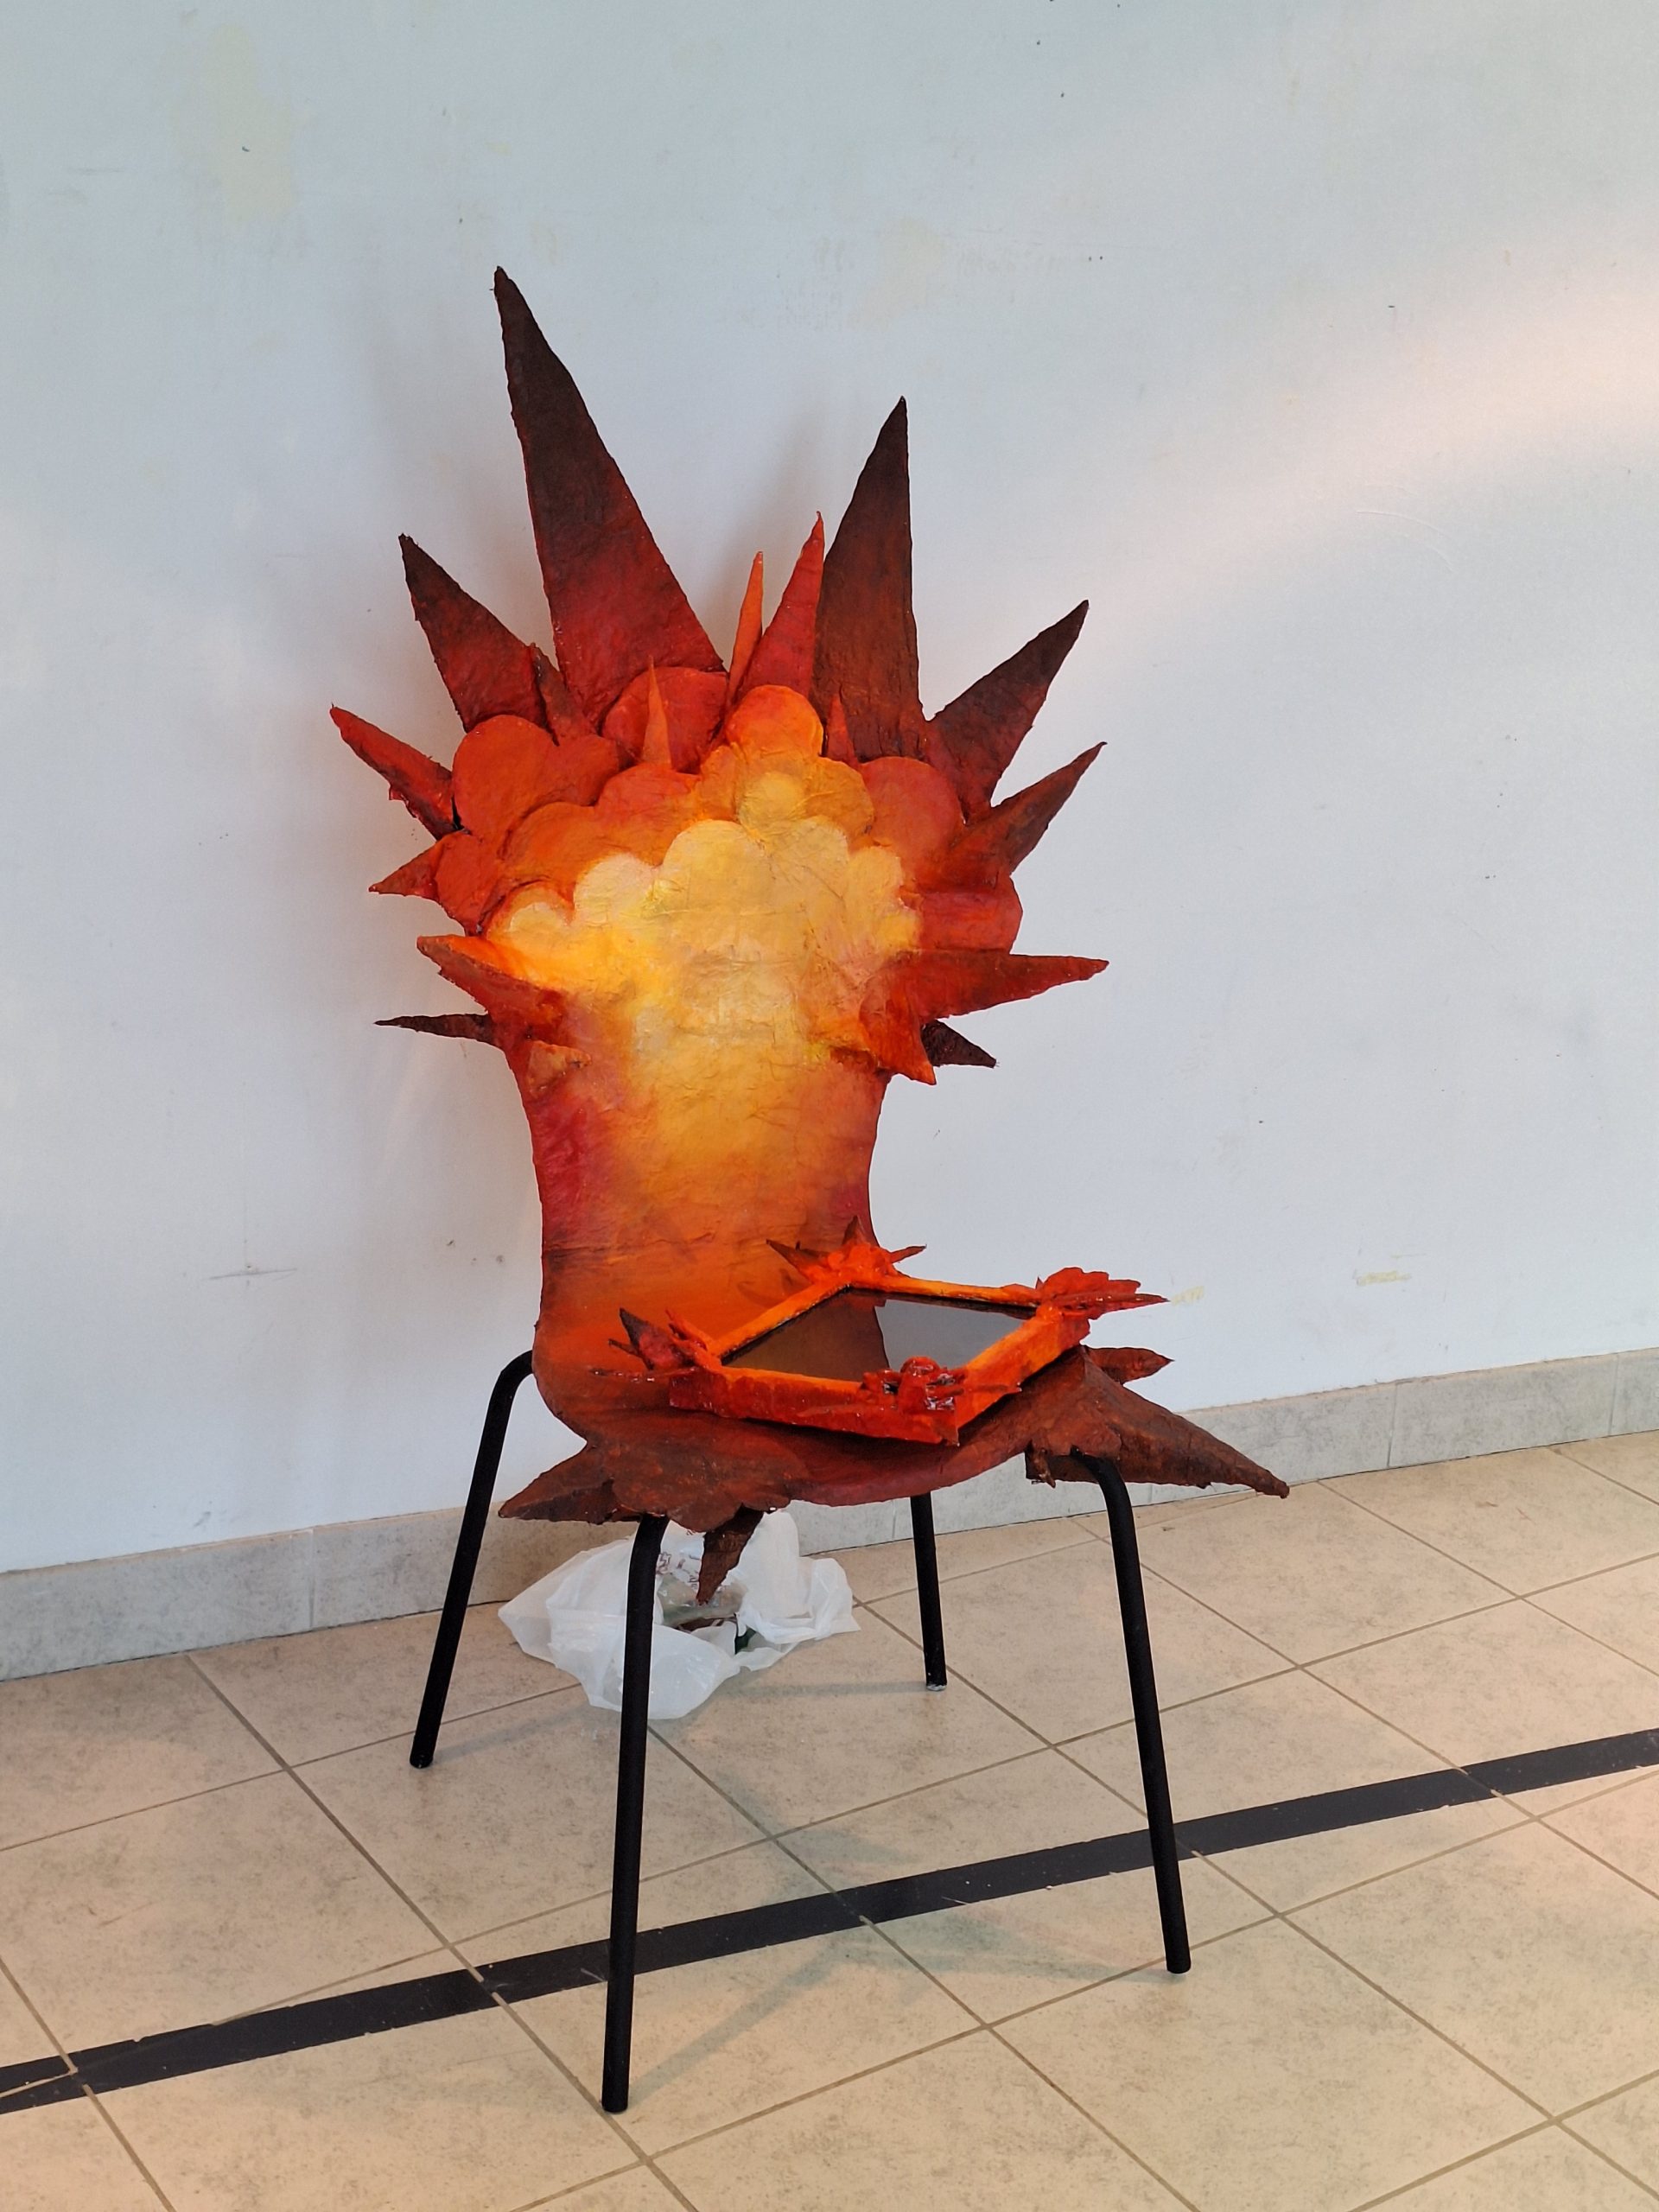
After the plaster dried, I painted my chair with acrylic paint, and after that, it was completed!
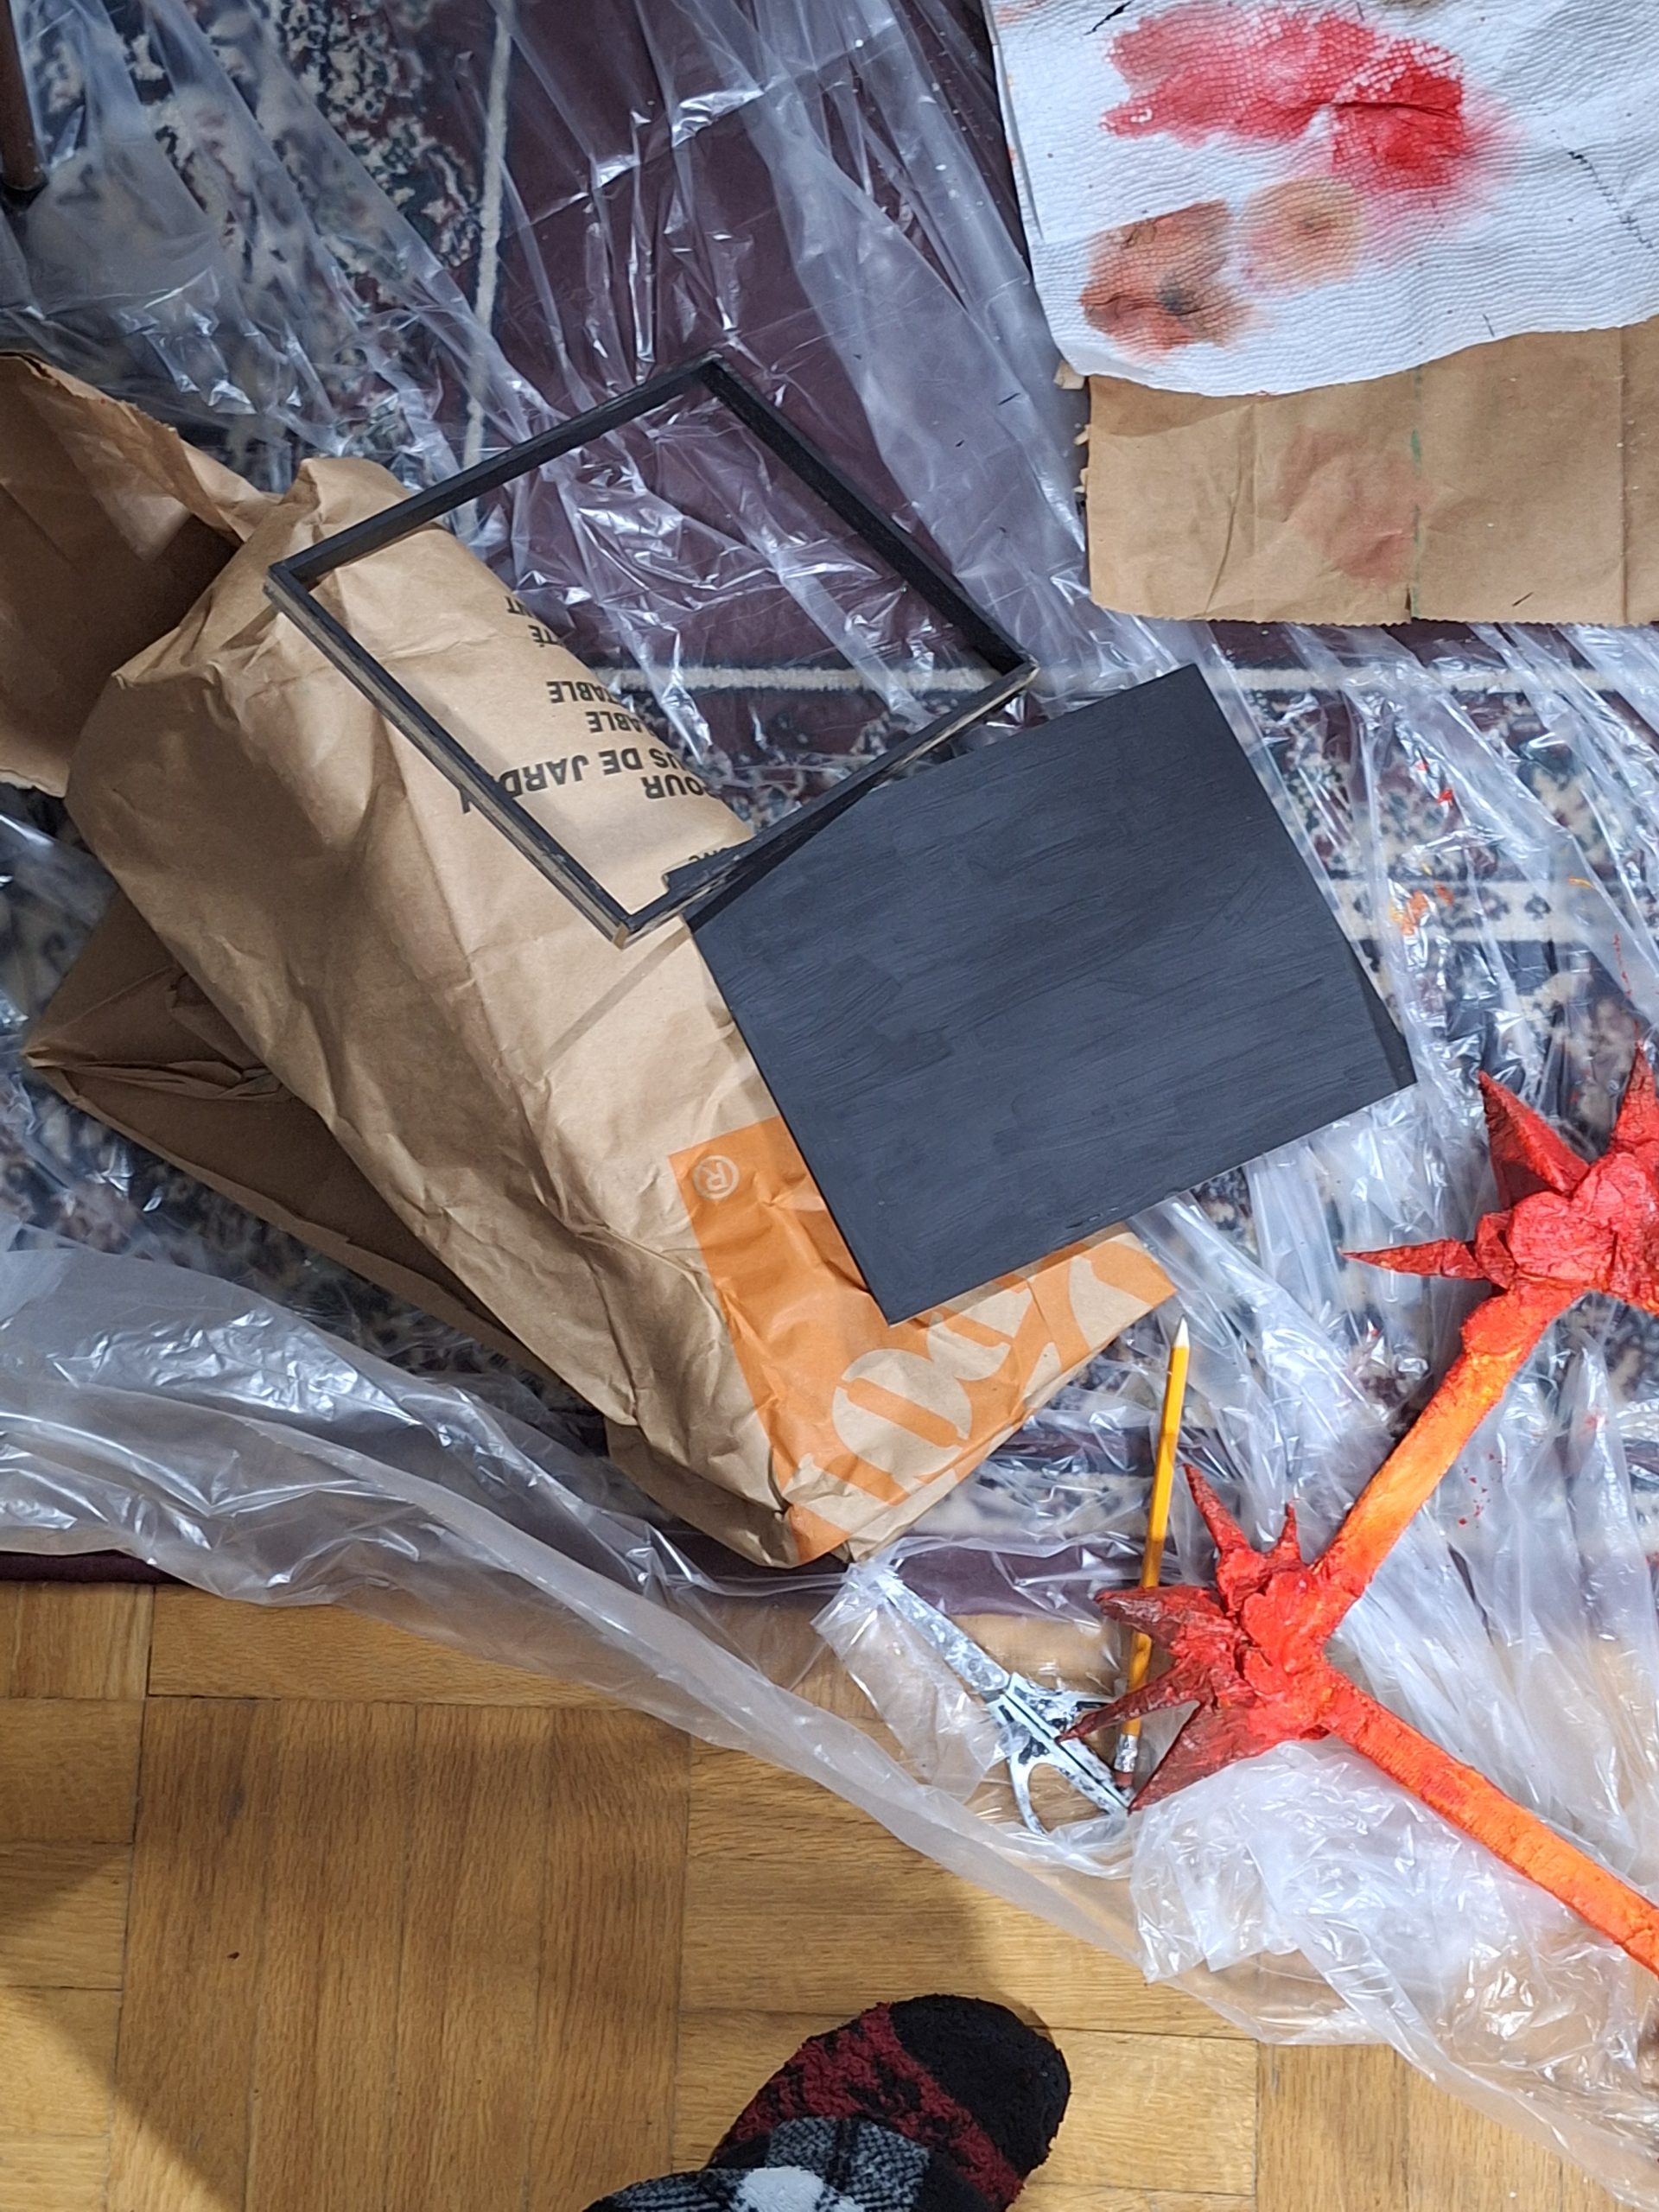
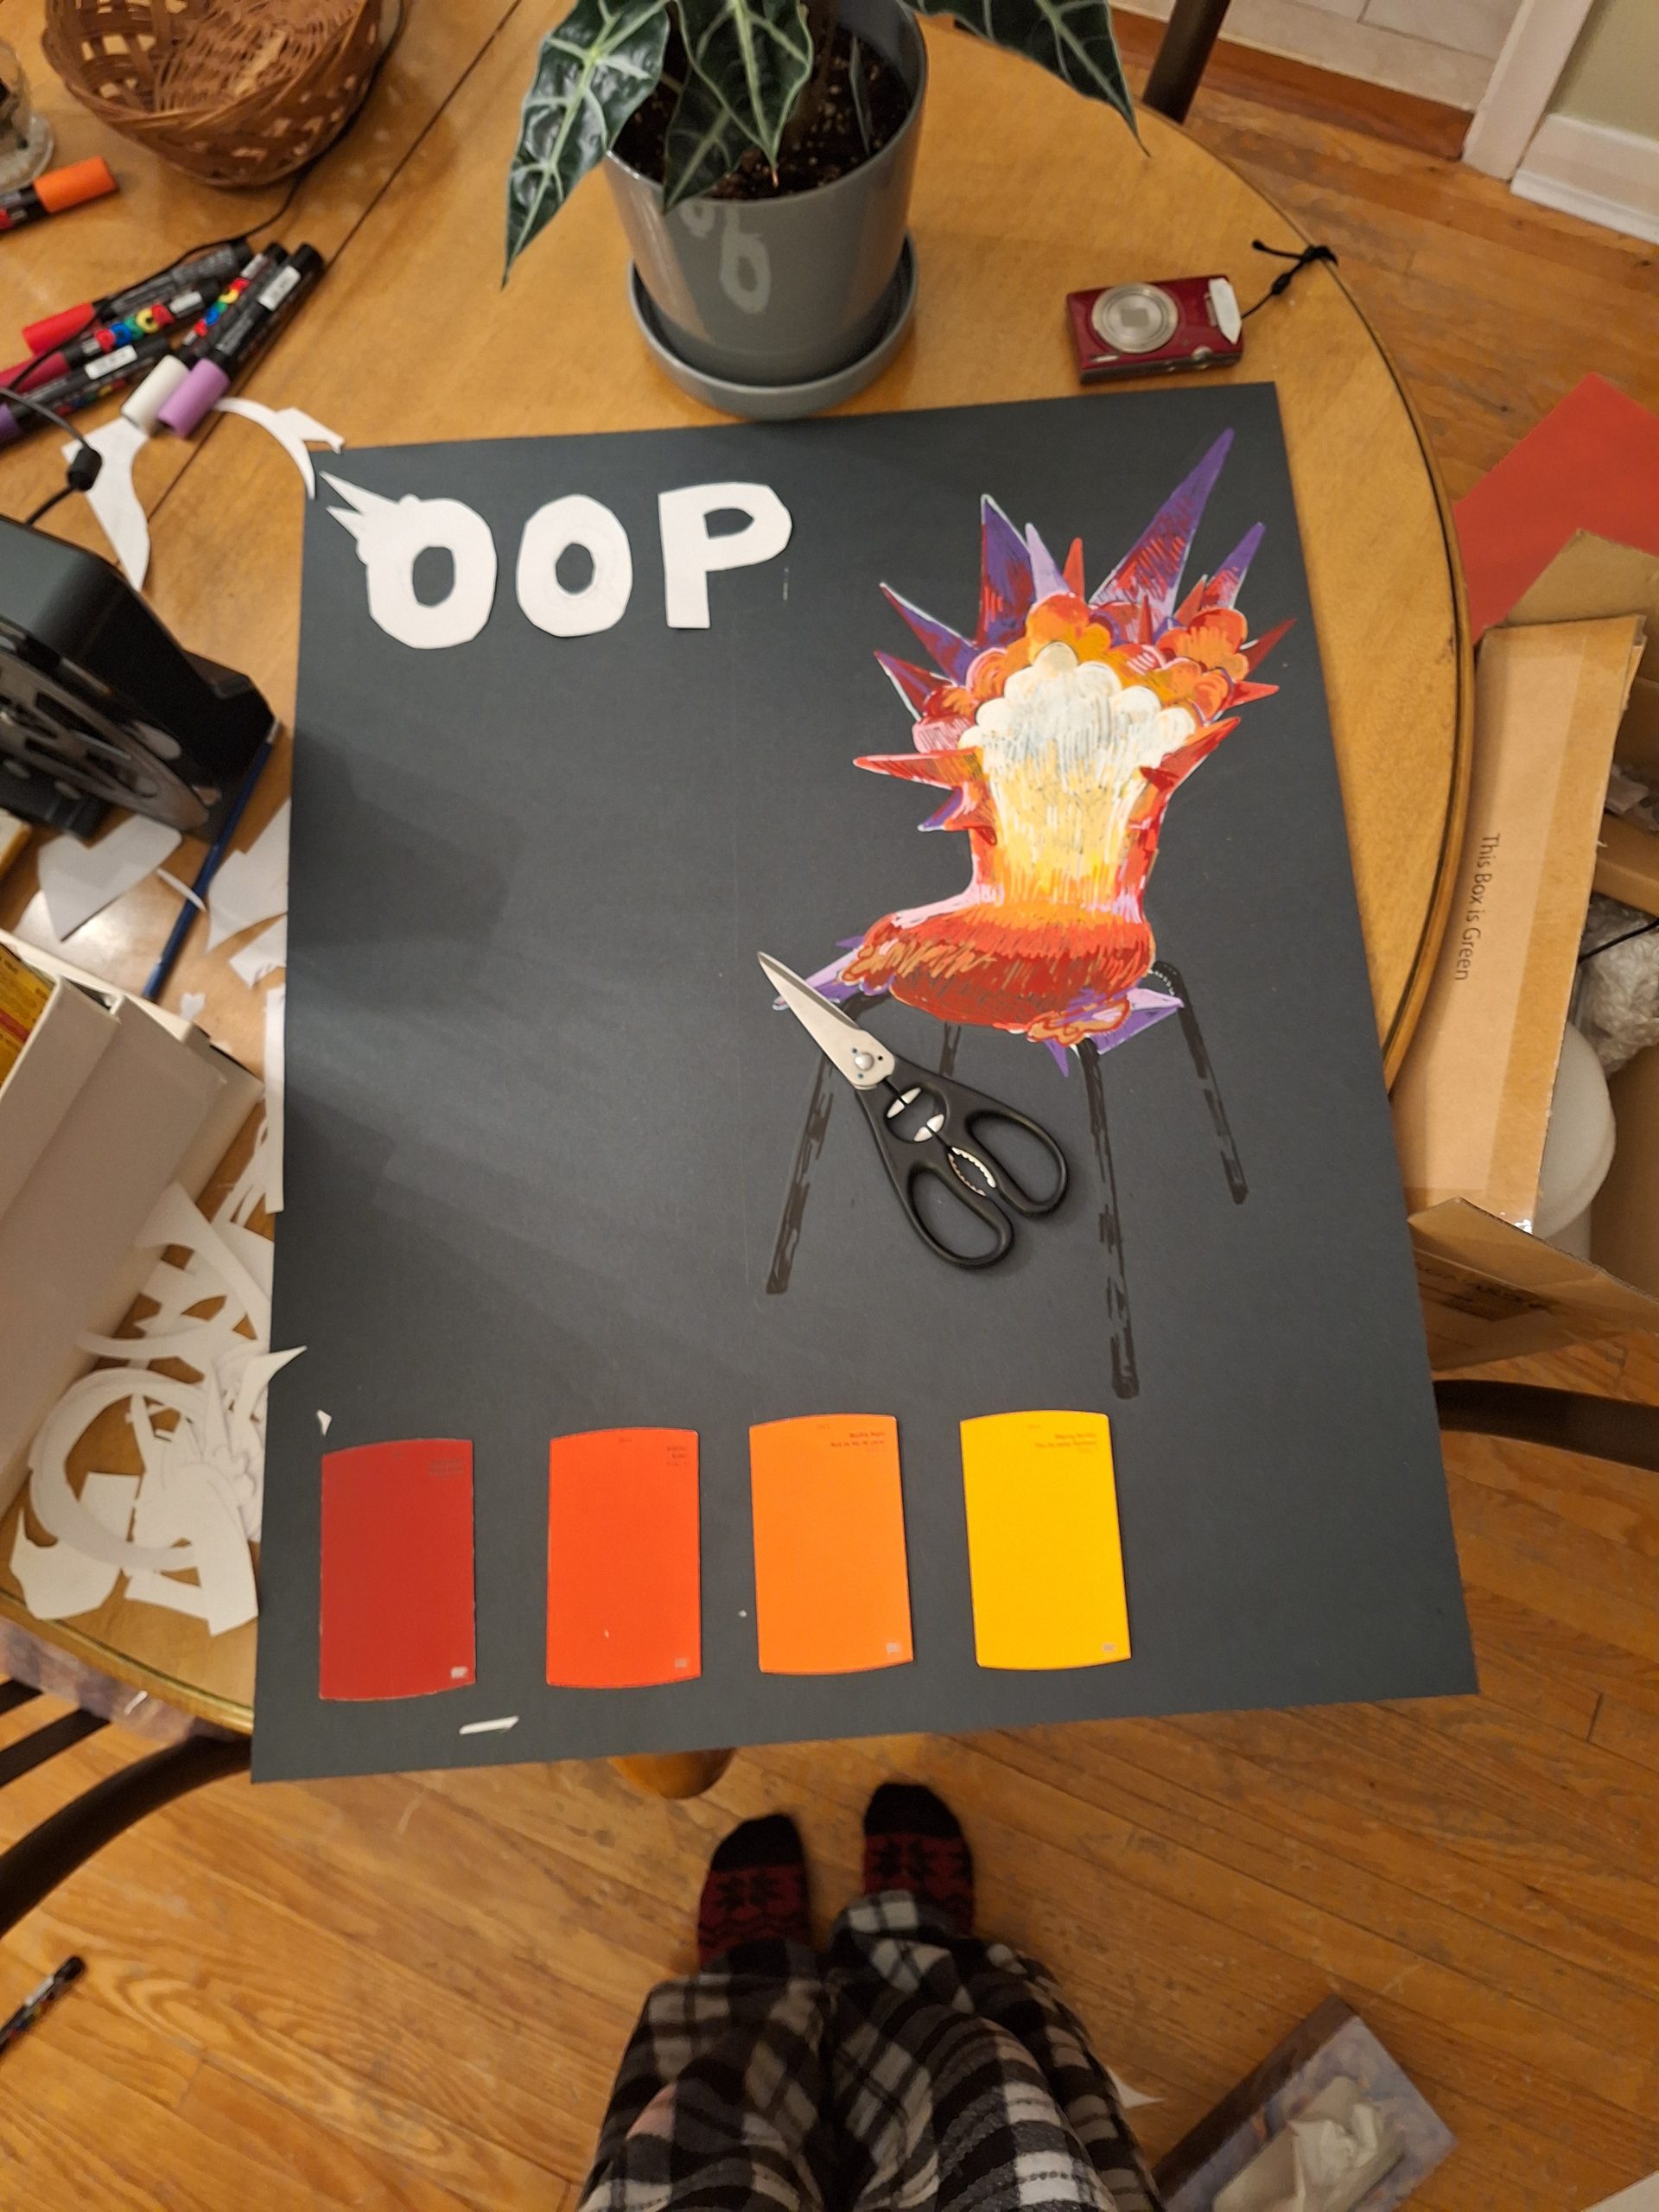
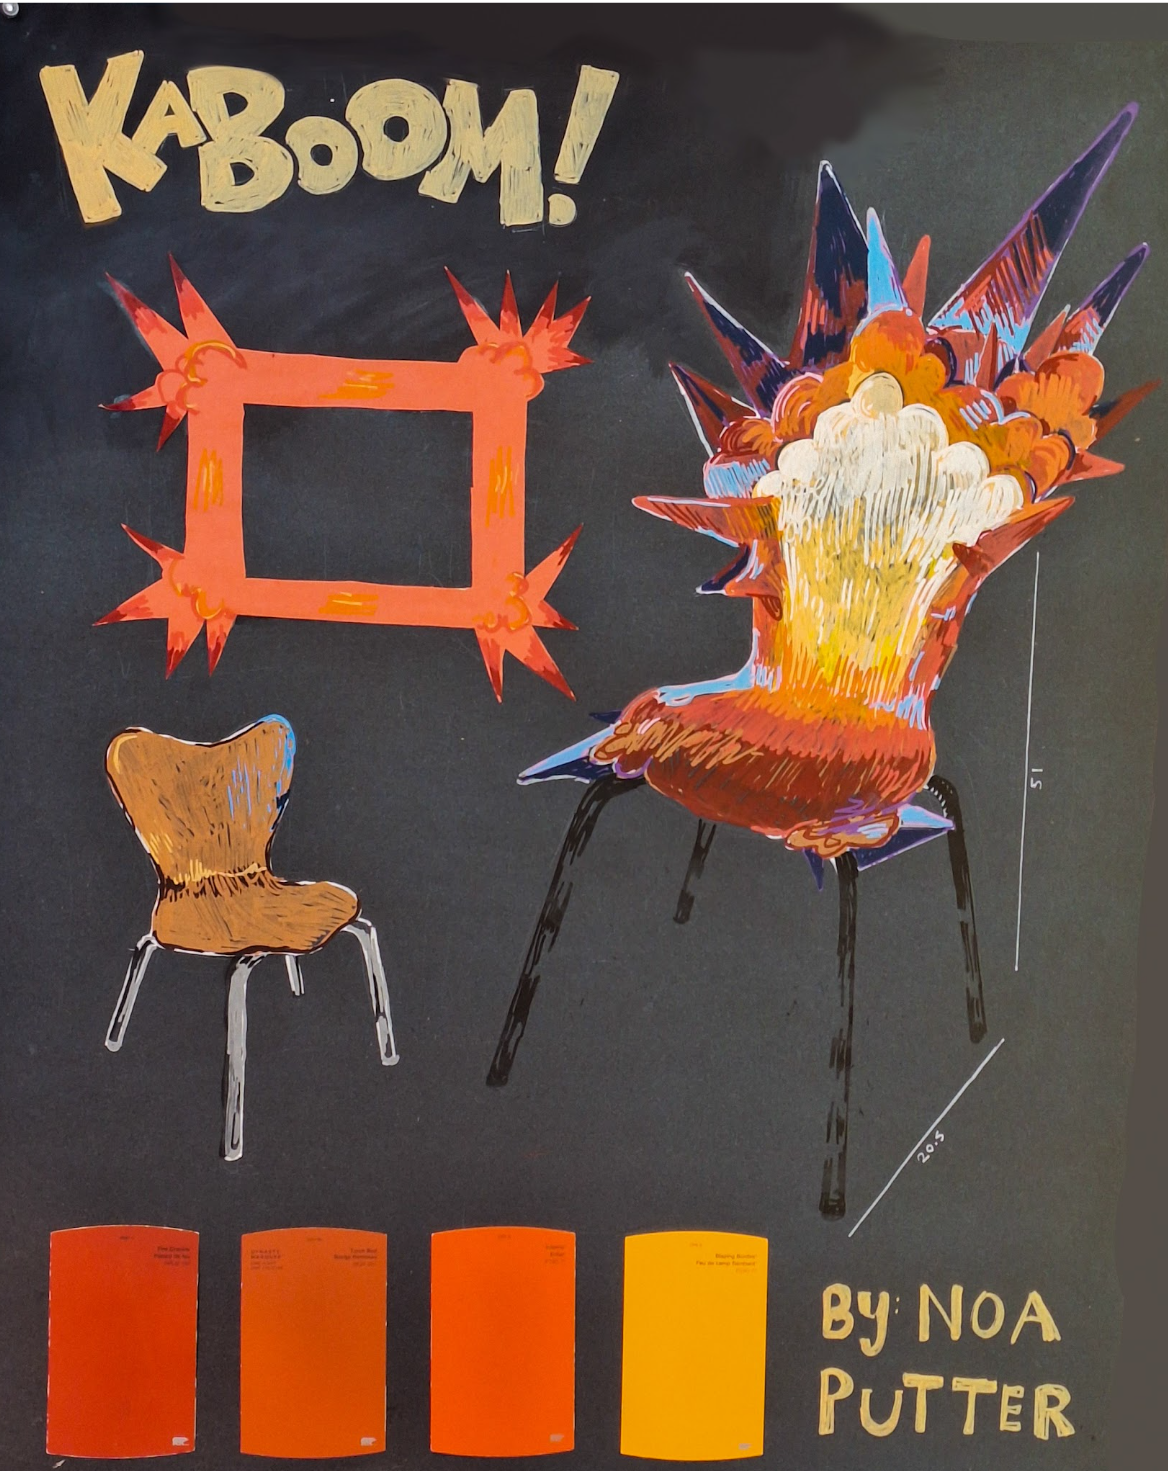
Next, I moved on to my accessory, a picture frame. Making it required the same process I used to make the chair: base, cardboard, plaster, and acrylic paint. One significant difference between the two was that this time around, I was experienced, and it took no time at all. Now I was done with the 3D part of my project, the last part being my technical drawing, which I made the majority with posca pens I got for Hanukkah :))
Installation
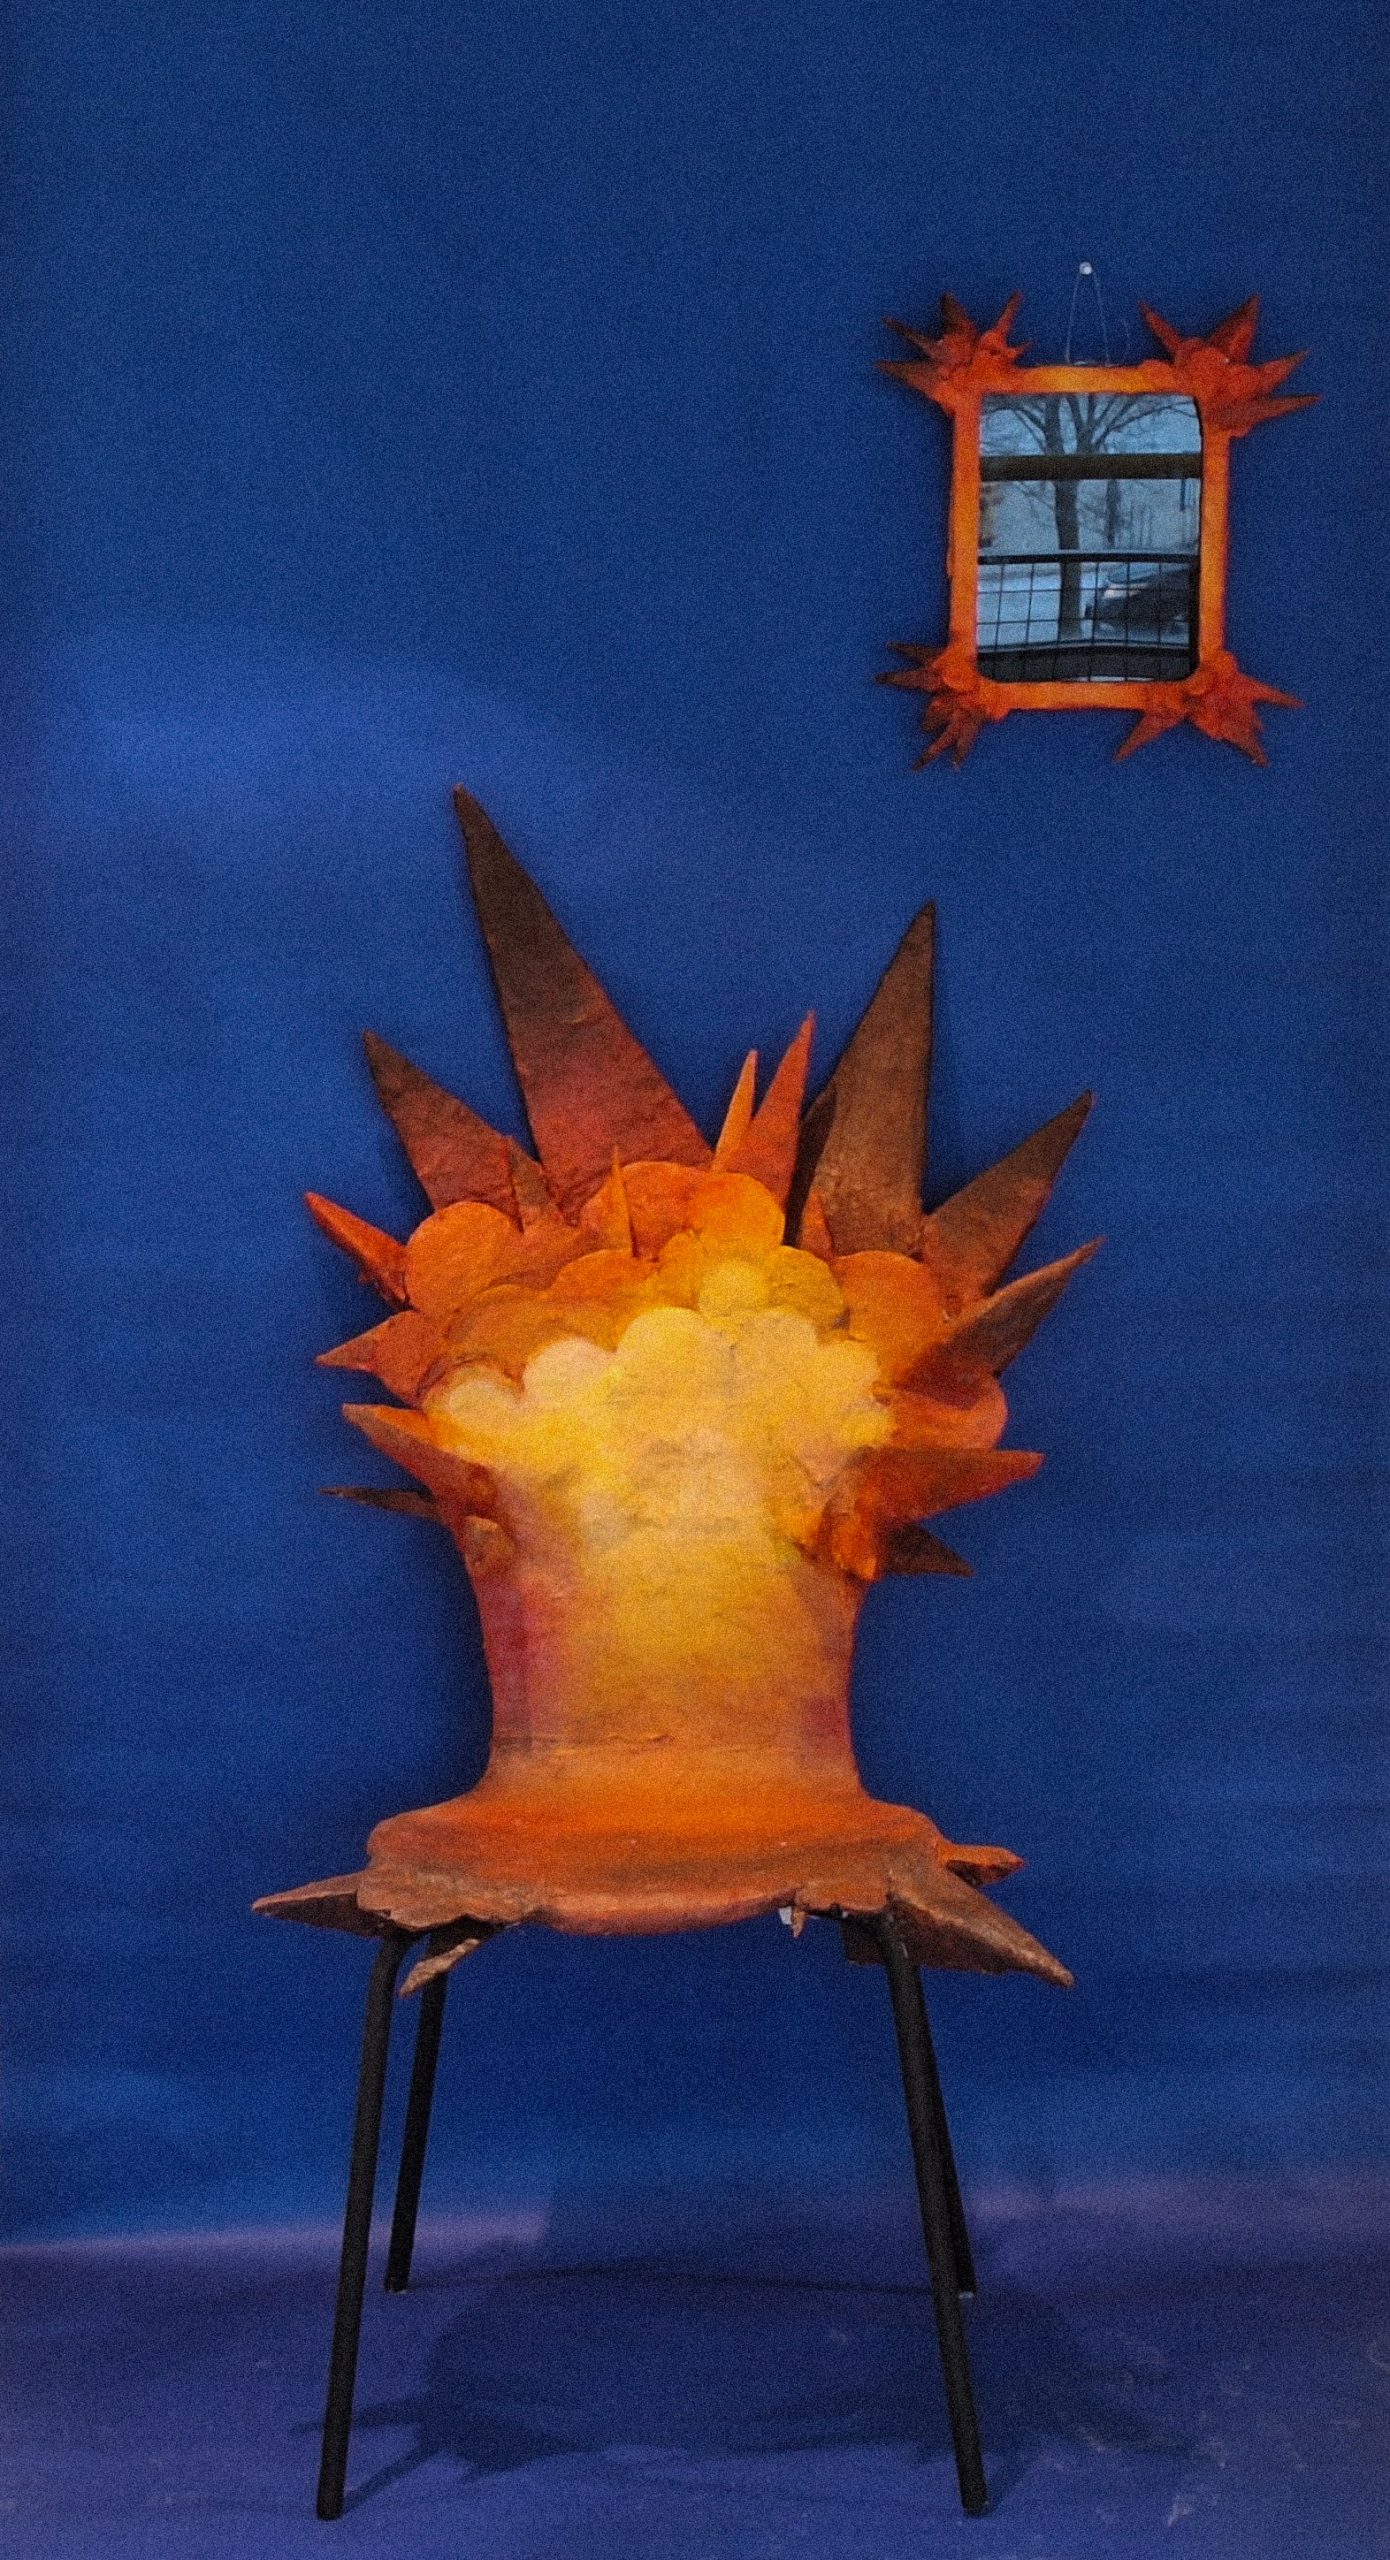
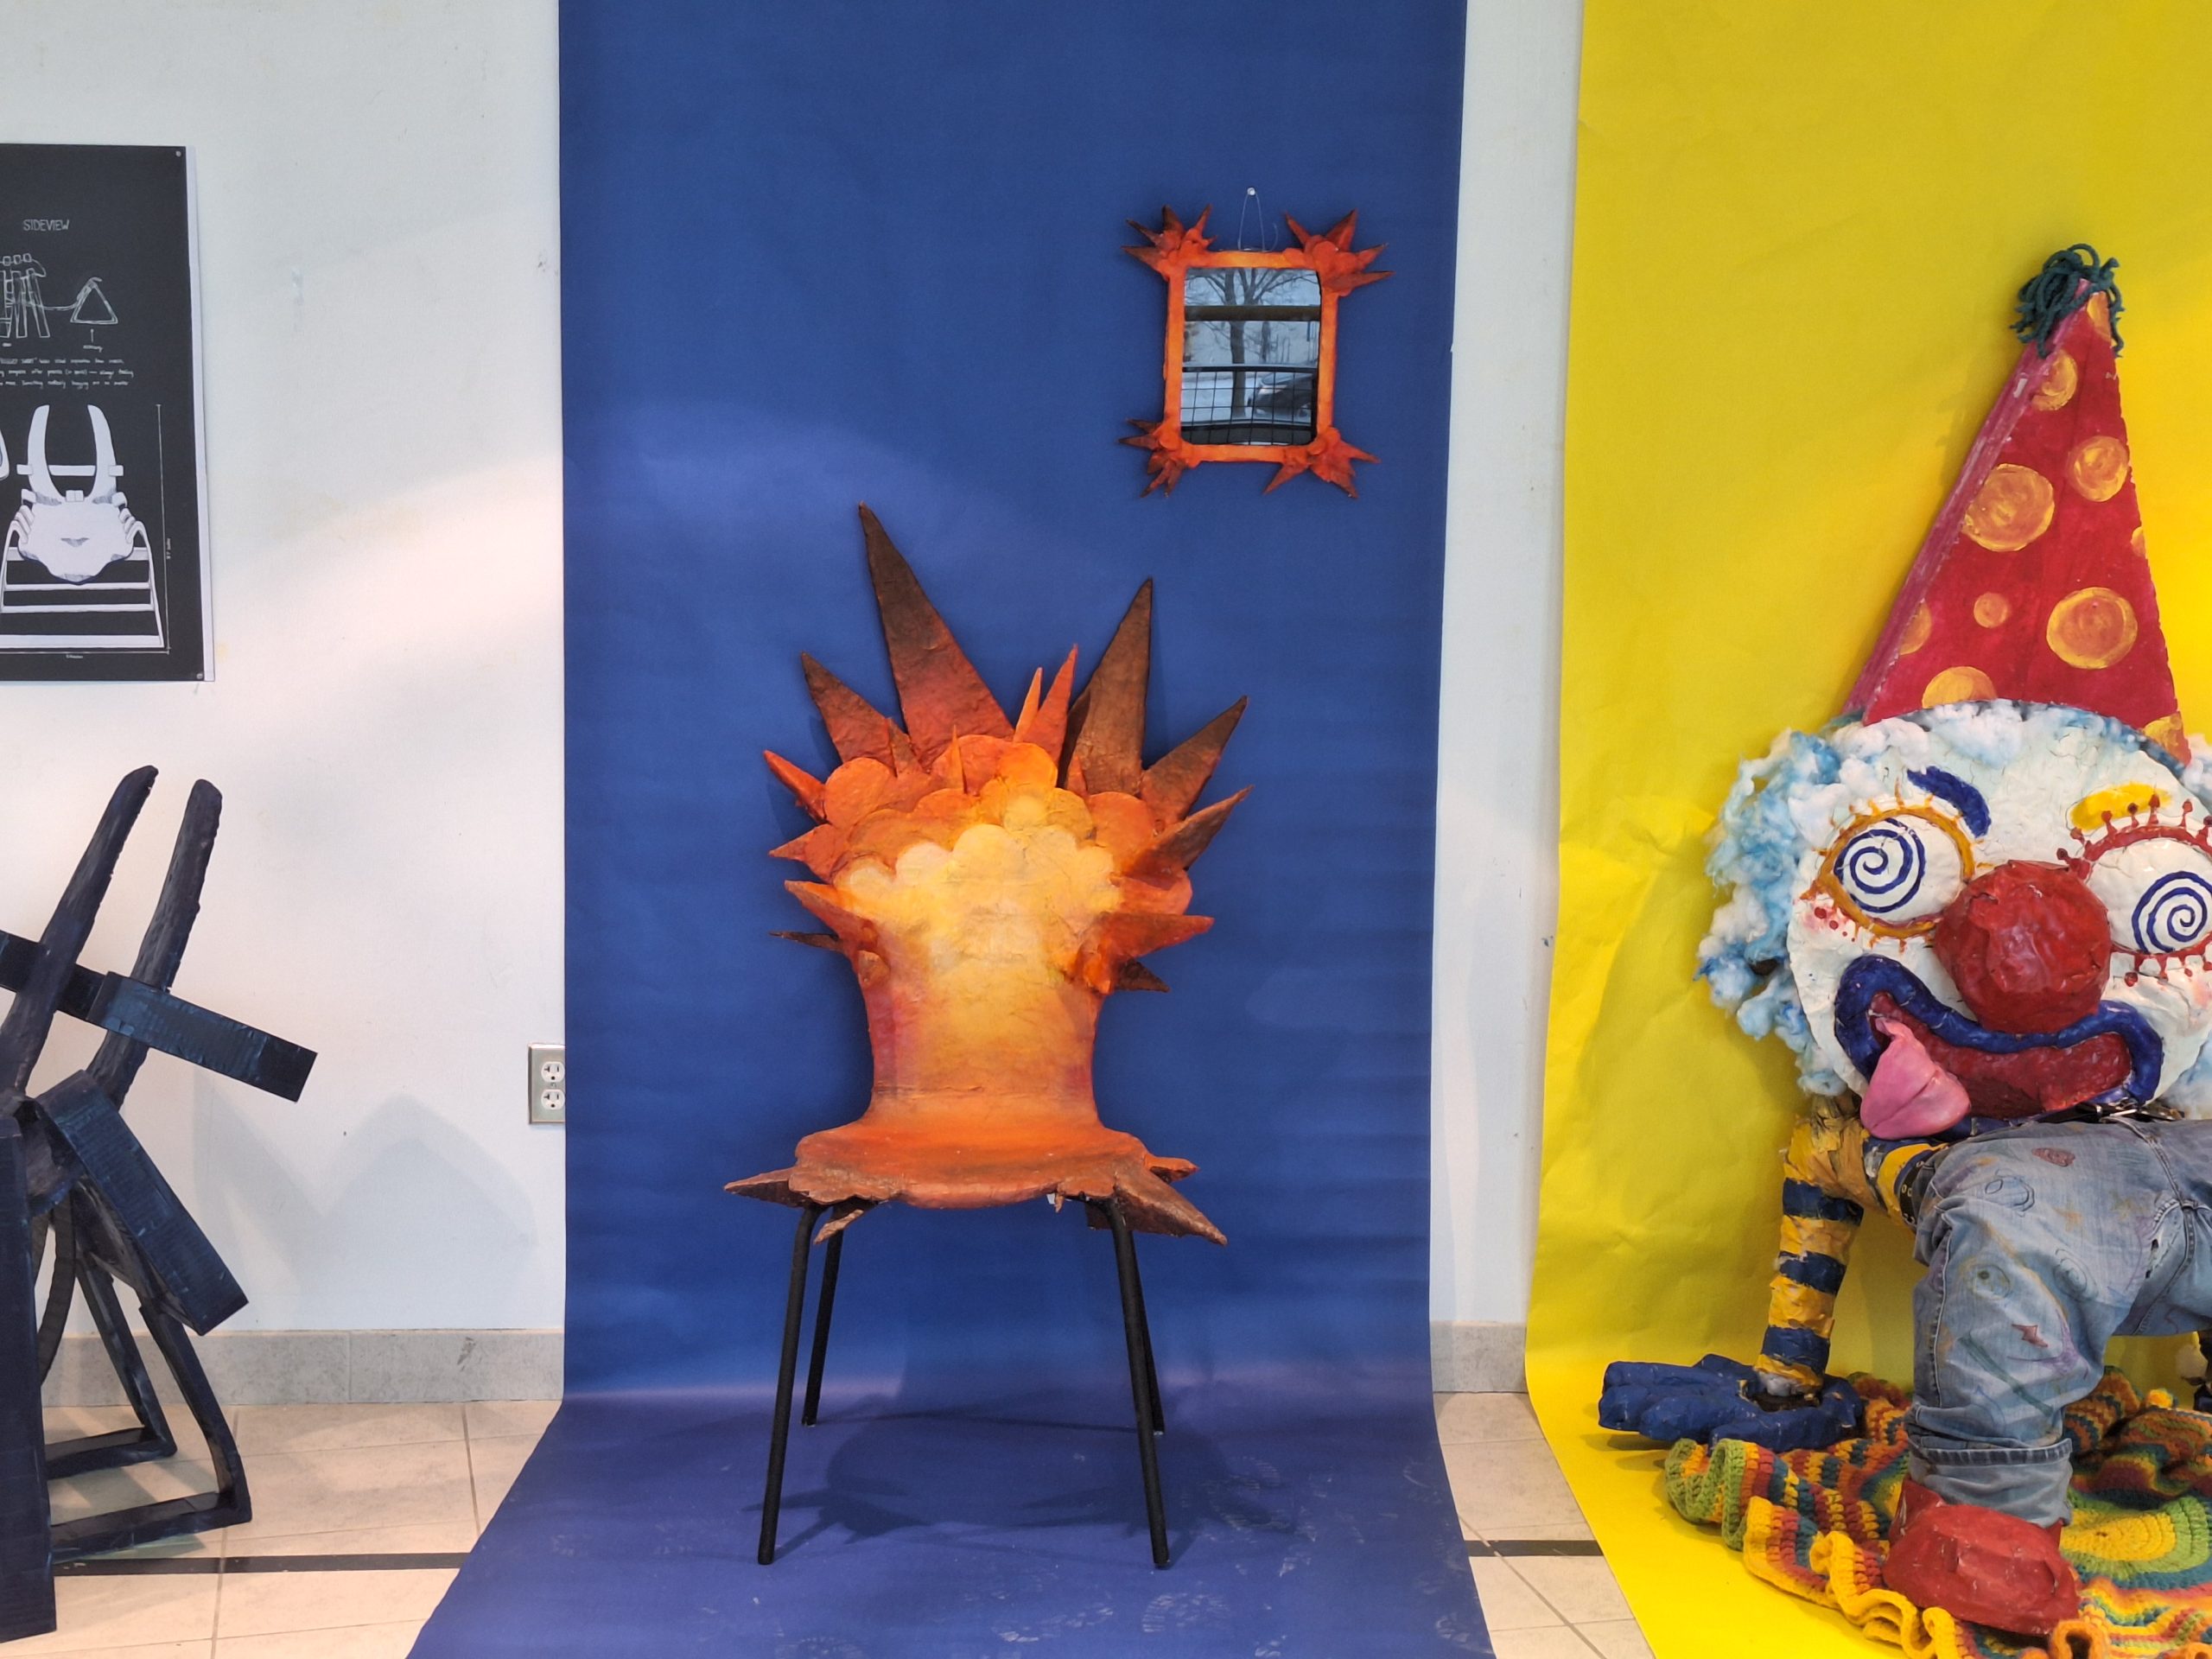
The final step was to install my chair and accessory which proved a challenge as I had to put a blue paper behind my chair. Initially, this was not something I planned on doing, which made it difficult to accept as part of my installation, but it grew on me as I now love the blue addition to my piece. Overall, while this project pushed me out of my comfort zone by forcing me to work with 3D mediums in a way I have never before, I truly enjoyed the final result of this project and the process it took to make it come alive.
Overall, I loved this project. While there were bumps along the way, it was still one of my smoothest projects in this program. Before I got into the visual arts program, I would look at the Claude Watson art Instagram and imagine myself making a chair a few ears into the future. And now I’m here. This project has made me appreciate how far I’ve come as an artist and I believe that it was a wonderful way to end the semester.
Beautiful
Its amazing you did a great job 👍👍👍👍👍👍👌👌👌👌👌